
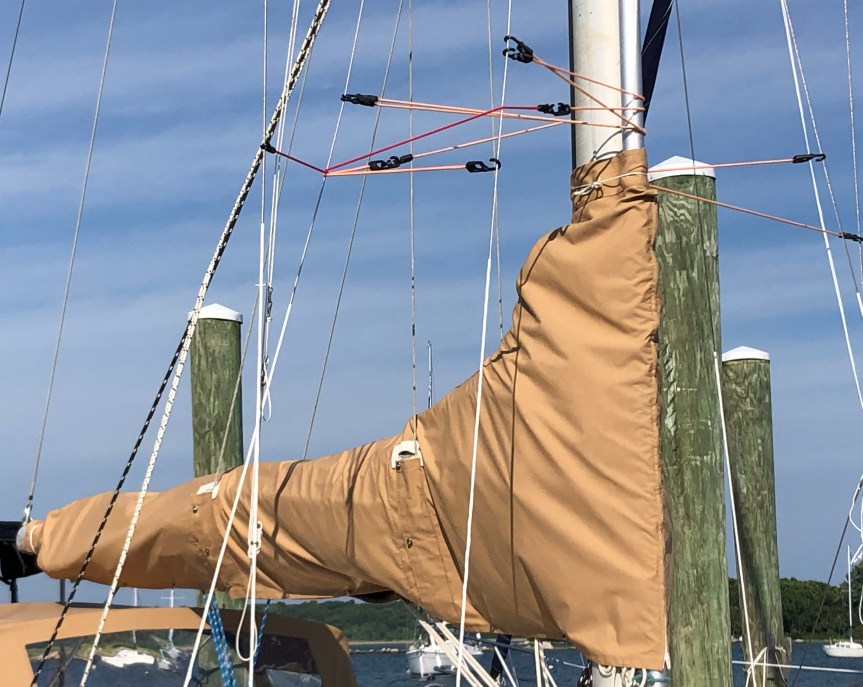
With the interior cushions complete, it was time to turn our attention to a new mainsail cover and dodger. I had made a mainsail cover several years ago before we started cruising, but it was navy blue. While that color works great in southern New England, we discovered it’s hot as hell down south. In fact, when we were in the Chesapeake during Covid summer it was almost too hot to touch.
Jeff and I had MANY discussions about what color we should switch to. He wanted tan, but I was decidedly not a fan until I found a shade I liked on a Shenny friend’s boat. Unfortunately, he sold the boat last fall and couldn’t remember exactly what the color was called. So we ordered about ten shades of tan samples from Sailrite to see if we could narrow it down. I didn’t want anything too tan, but Jeff didn’t want anything too light. We settled on Toast, and while at first I still wasn’t convinced, I’ve since decided that he was right. We’re both VERY happy with it.
Making the mainsail cover was relatively easy, particularly since I had done it before. The challenging part was the lazy jack slits. Despite my best efforts at measuring, they were off enough that Jeff needed to move the lazy jack hardware. Once that was complete though, the cover looked great. Now it was time to tack our hardest canvas project to date: the dodger.
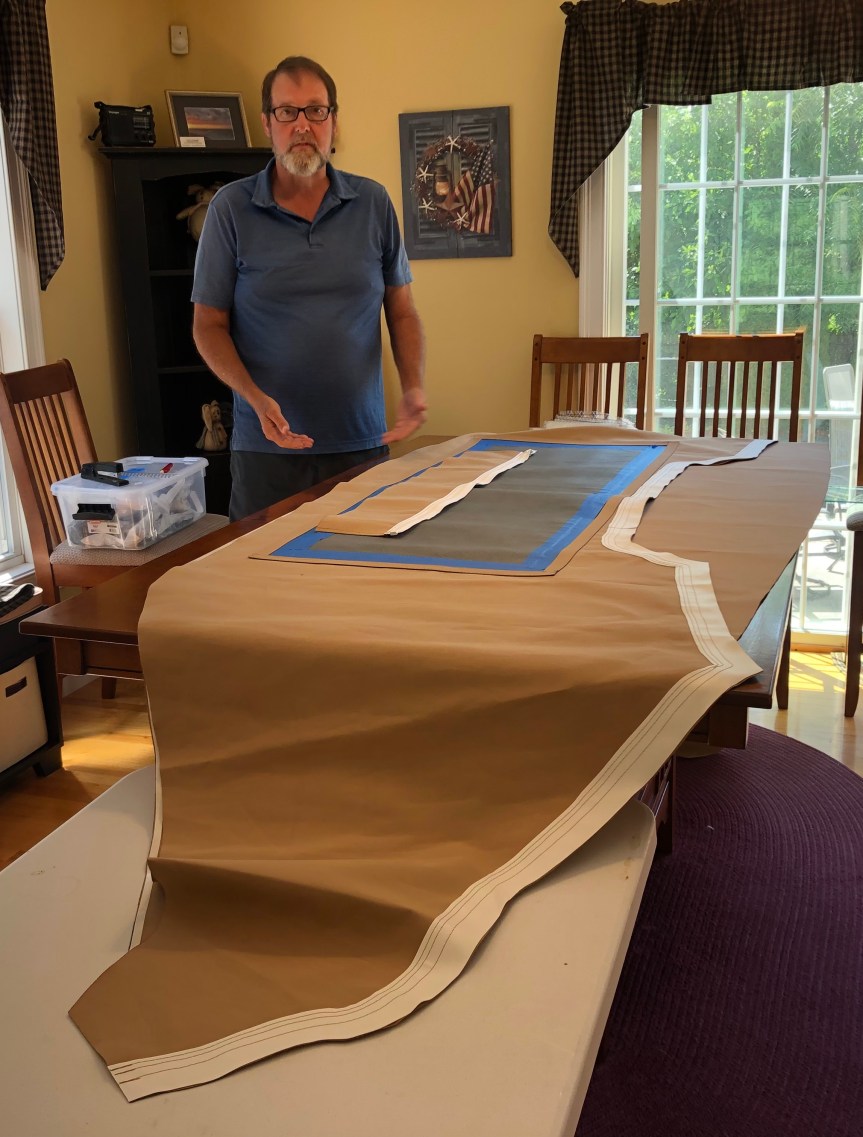
A dodger is installed at the front of the cockpit to help keep wind and rain out of it. Our old dodger frame was crooked and we had decided we preferred the added height, width, and depth of the Sailrite dodger frame, so we were truly starting from scratch. One of the keys to a good looking dodger is a rock-solid pattern, so we spent several days making the frame and pattern. It was VERY challenging with height changes and curves, but we finally decided it would be ok (we hoped).
Next, our good friends Jeff and Denise from S/V Infinity came to our rescue once again, allowing us to use their house as a canvas workshop while they went on vacation. Yes, this was the same vacation that we were supposed to go on, but we knew we simply did not have the time given the projects we hoped to accomplish this summer, so we had VERY reluctantly decided to pass. Instead I switched shifts with one of my co-workers, and we had four solid days to put our noses to the grindstone and knock most of the dodger out.
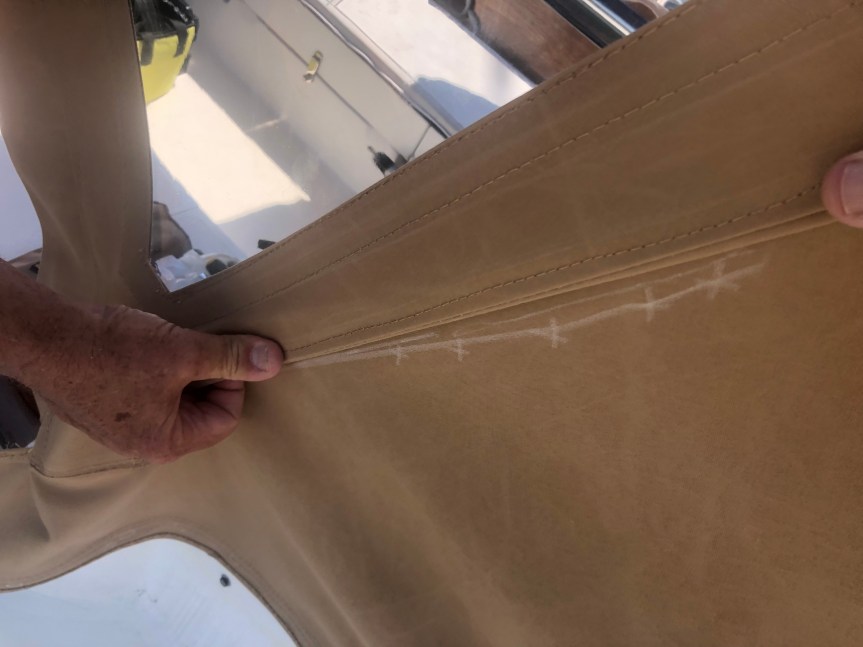
We worked as a team, following the Sailrite video step-by-step, and by the end of day four we were back at Shenny putting the dodger on the frame with bated breath. Hmm. It looked good, but we had a pretty substantial wrinkle along the side from excess material. I posted for advice on the Sewing on Boats Facebook page, then we took it off the frame and sewed a dart. Back on the frame it went. Much better!
So were we finished? Heck, no! We wanted to be able to roll-up the main window for better ventilation. Off came the dodger from the frame. Back on the frame it went.
Now were we finished? No way! The main window was much smaller than we had anticipated, leaving us with two large blind spots on the port and starboard side. We needed to insert two fixed windows. Jeff didn’t think it was necessary, but I insisted. Off came the dodger from the frame so we could make the two fixed windows. Back on the frame it went. Jeff agreed that the visibility was now much better.
How about now? Noooooo. One of the things we liked about the Sailrite frame was that it had horizontal hand holds along the sides. We still needed to make the cut outs for the handholds. Off came the dodger from the frame. Back on the frame it went.
Why couldn’t we do all of this at once? We felt once we made the cut for the roll-up window it might change the dodger shape a bit, so we wanted to wait to pattern the fixed windows until the roll-up was finished. Then we thought the fixed windows could change the shape a bit for the cut-outs for the handholds, so we waited to pattern the cut-outs. Was it necessary? Maybe not. But after putting in about sixty hours and spending a lot of money on the kit, we weren’t going to screw it up with a roll of the dice.
Taking the dodger on and off wasn’t as simple as it sounds. We needed to be very careful not to scratch the Strataglass, which is what the windows are made out of. At $153.95 for a 54″ x 55″ piece, we preferred not to mess it up immediately. We ended up with one small scratch which wasn’t too bad given how often the dodger was manhandled during the sewing process.
After the handhold cut outs were complete, were we finished? YES! Time for celebratory cocktails!
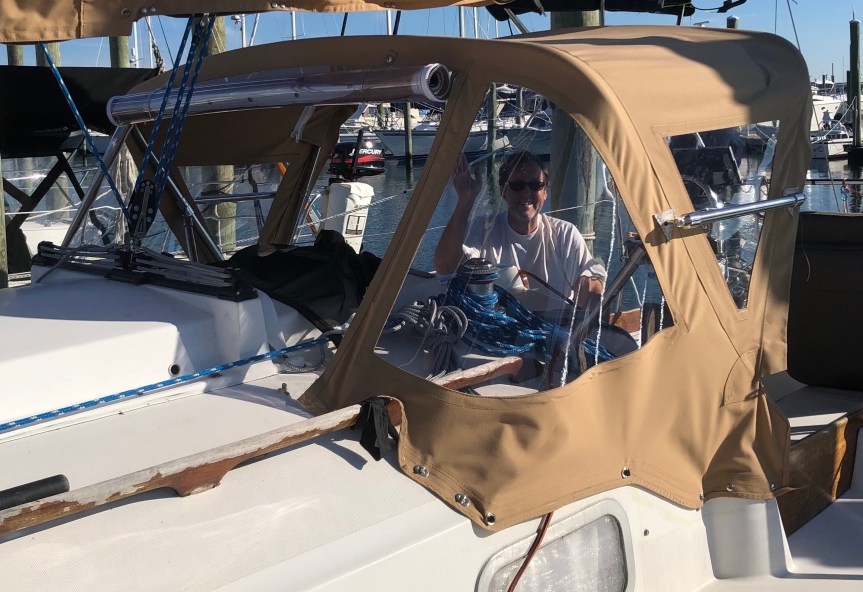

So after all of that, are we happy with it? Definitely. The dodger turned out SO much better than we thought it would. Frankly, we were shocked. I was afraid it would be a wrinkled mess and it definitely isn’t. Would we do it again? We’d rather not. However, given that we have more time than money, it was a no-brainer for us to give it a try. The frame and materials alone were $1,700, and we were able to make changes and customize it as we went along. The labor for a professional canvas maker would have easily been another $4,000. So despite the sweat, angst, and occasional gnashing of teeth, we have no regrets. Future canvas projects will seem easy-peasy compared to this one!

Instead I switched shifts with one of my co-workers,
You’re working? What work are you doing?
Nice written piece and the results came out very well.
We had an enclosure built for Caro Babbo, built like a modern tent that folds into a sack and weighs about 7 lbs. I’ll do a piece in the next few weeks.
Where are you BTW, I’ll be in Port Jefferson, LI this weekend, if I test negative for Covid.
LikeLiked by 1 person
Thanks. John! I worked part-time as a launch operator/dock hand at Shenny this summer. It was the most entertaining job I’ve ever had!
I’m looking forward to the write-up on your enclosure. It looks really interesting from the picture in your blog post.
We’re JUST going to miss you. We’re hoping to leave Groton for Port Jefferson around the middle of next week, weather and projects permitting. Kimberly
LikeLike
Great job Kim & Jeff!! Replaced our dodger glass last summer – not something I care to do again!!
LikeLiked by 1 person
Thanks! I totally get not wanting to do it again, but I’ll bet the new glass looks great! Kimberly
LikeLike
Great job on the dodger! Ours is all patches.
Lynne and I have enjoyed reading about your land cruise.
We sold Catalpa and now have a new, old, boat. SV Evergreen a Bristol 355. We’re heading south soon. Hope to see you both along the way.
Regards
Brian, Lynne, and Ollie
LikeLiked by 1 person
Thanks! It was great seeing you and Evergreen in Old Saybrook. Looking forward to catching up again a bit further south! Kimberly and Jeff
LikeLike