We do it right because we do it twice!

While it hasn’t exactly been warm, at least it hasn’t been raining on the weekends.  This gave us the chance to get down to the marina on Saturdays and Sundays over the past few weeks to tackle our list of pre-launch projects and tasks.  I’m very happy to report that with the exception of washing the boat, everything is ready to go.  It was just too chilly to talk ourselves into washing her, so we’ll have to take care of it when we motor up to the t-dock sometime over the next few weekends.

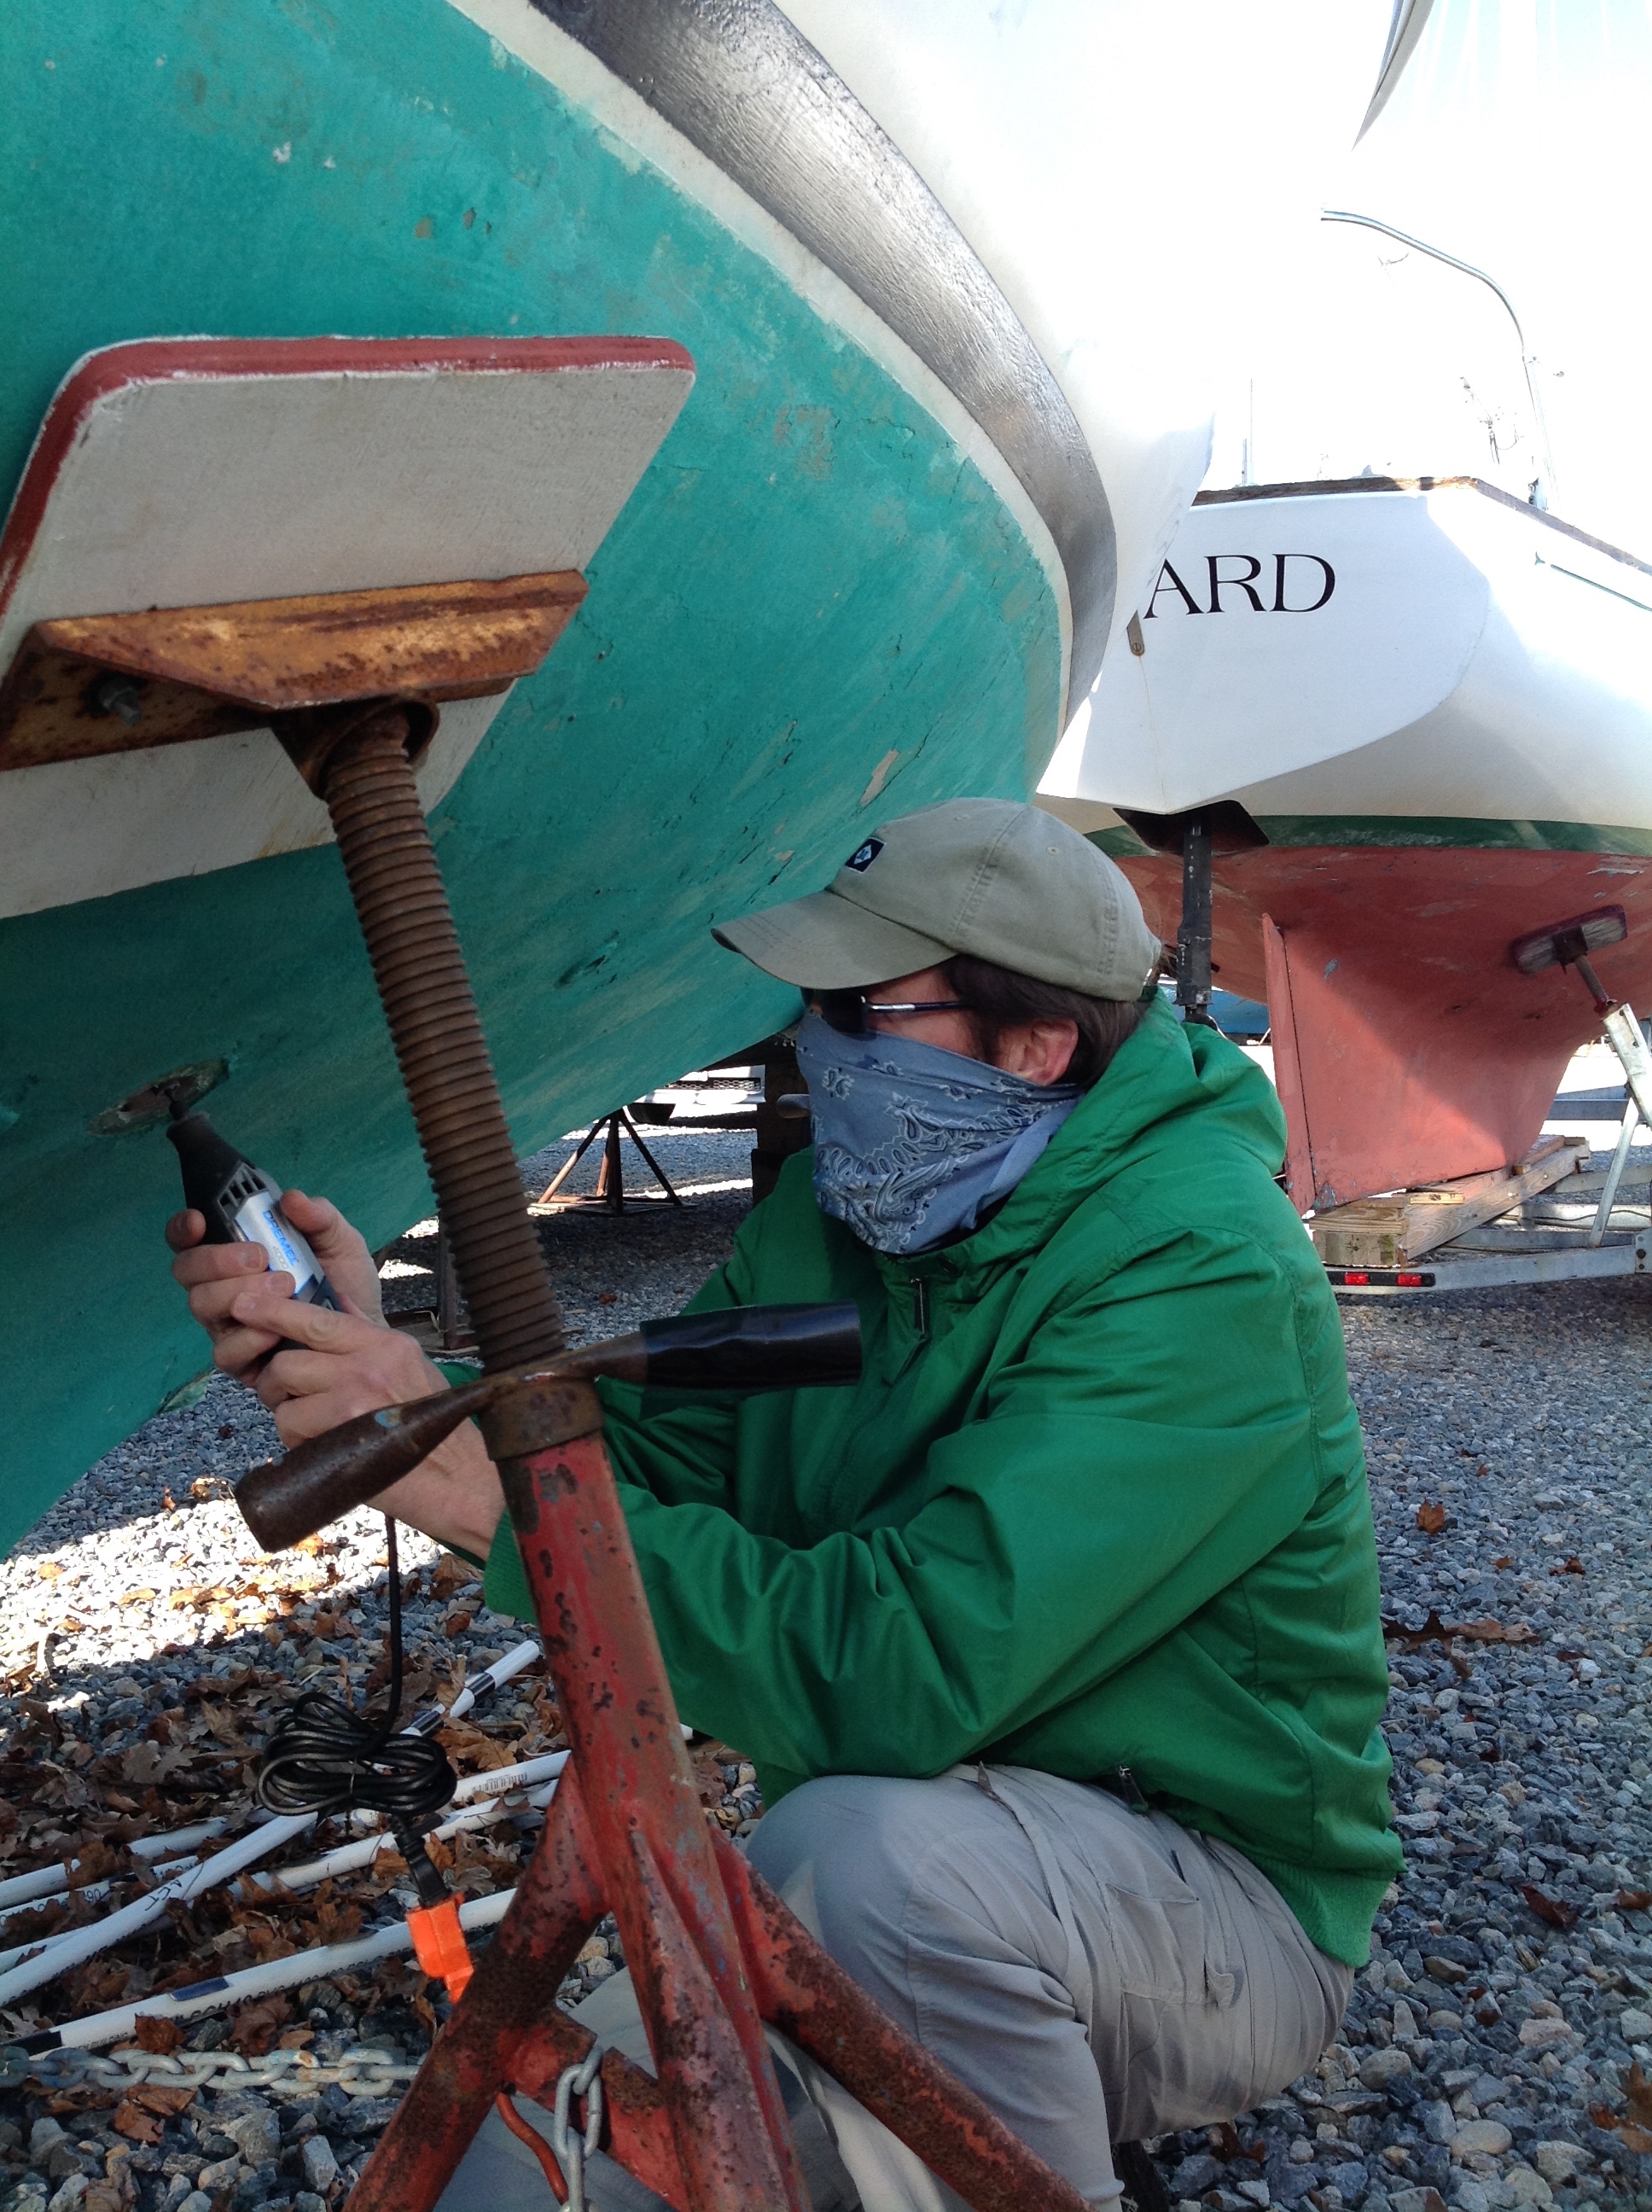
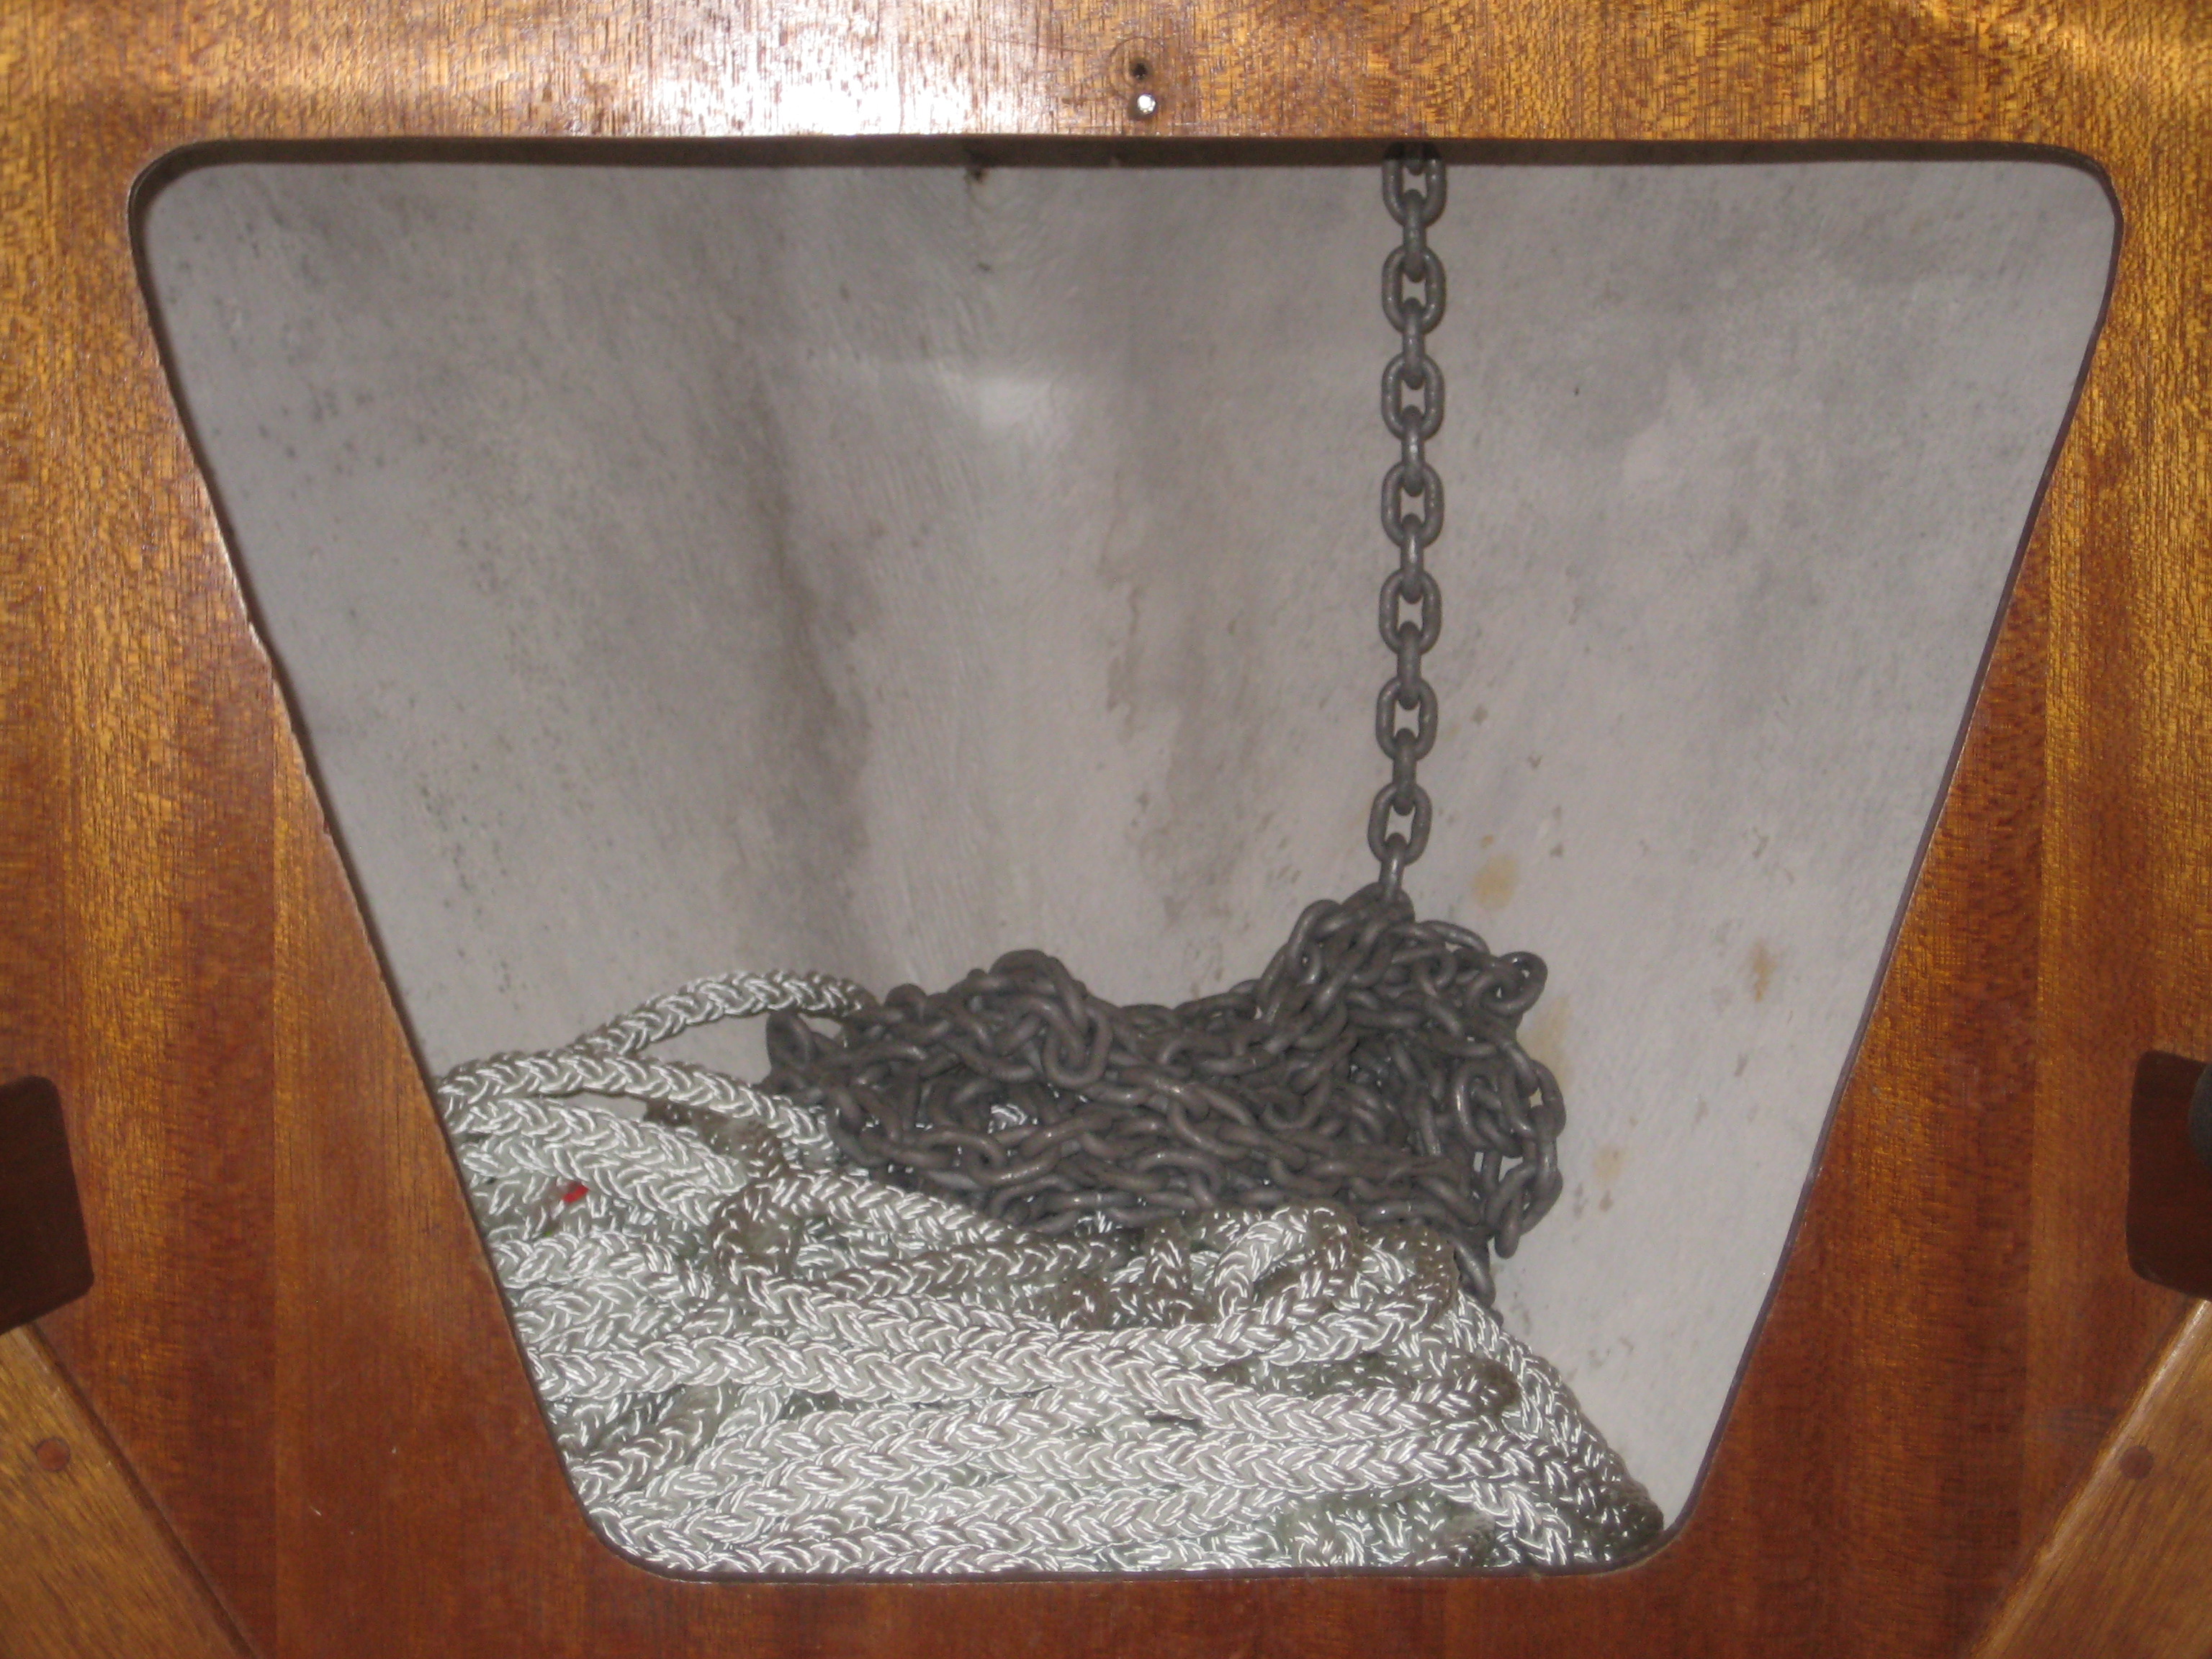
We have been busy, busy, busy.  Some of the tasks went off without a hitch – painting the boot stripe, polishing the stainless, oiling the interior wood, loading cushions and supplies onto the boat, vacuuming everything, installing the anchor bracket, spraying the mast and jib slots, changing the fuel filter/water separator.  Other tasks, not so much.

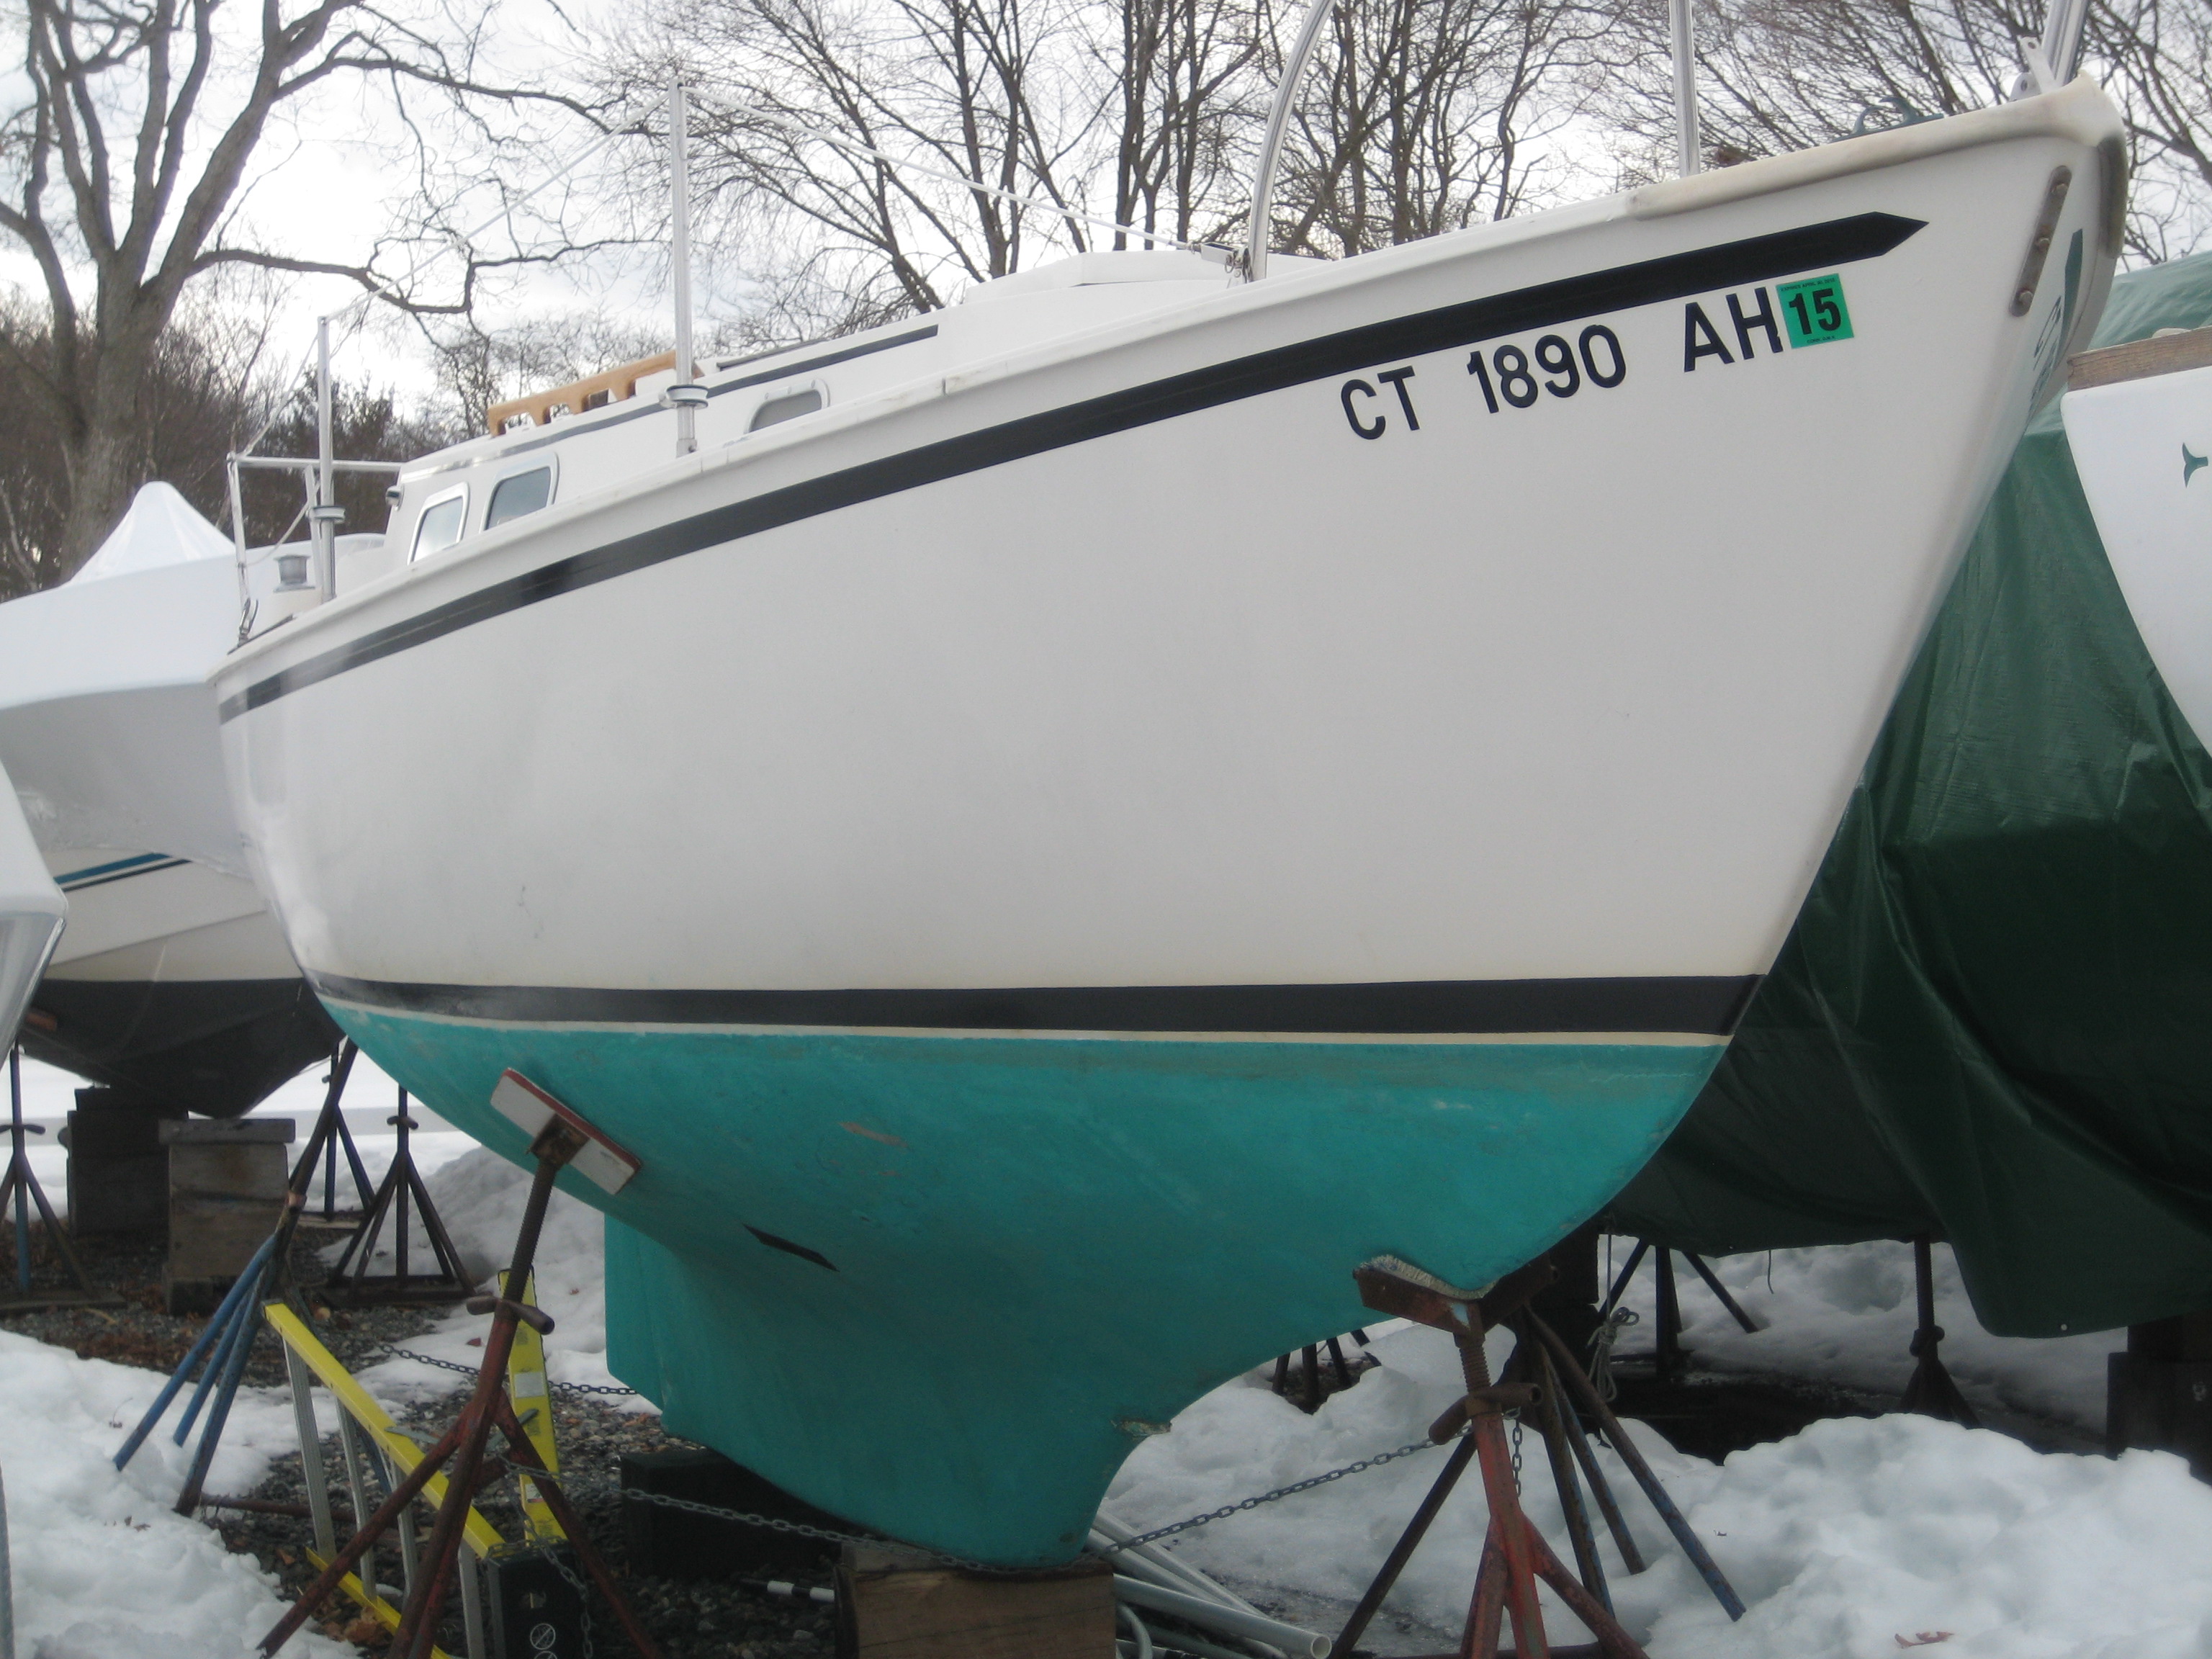
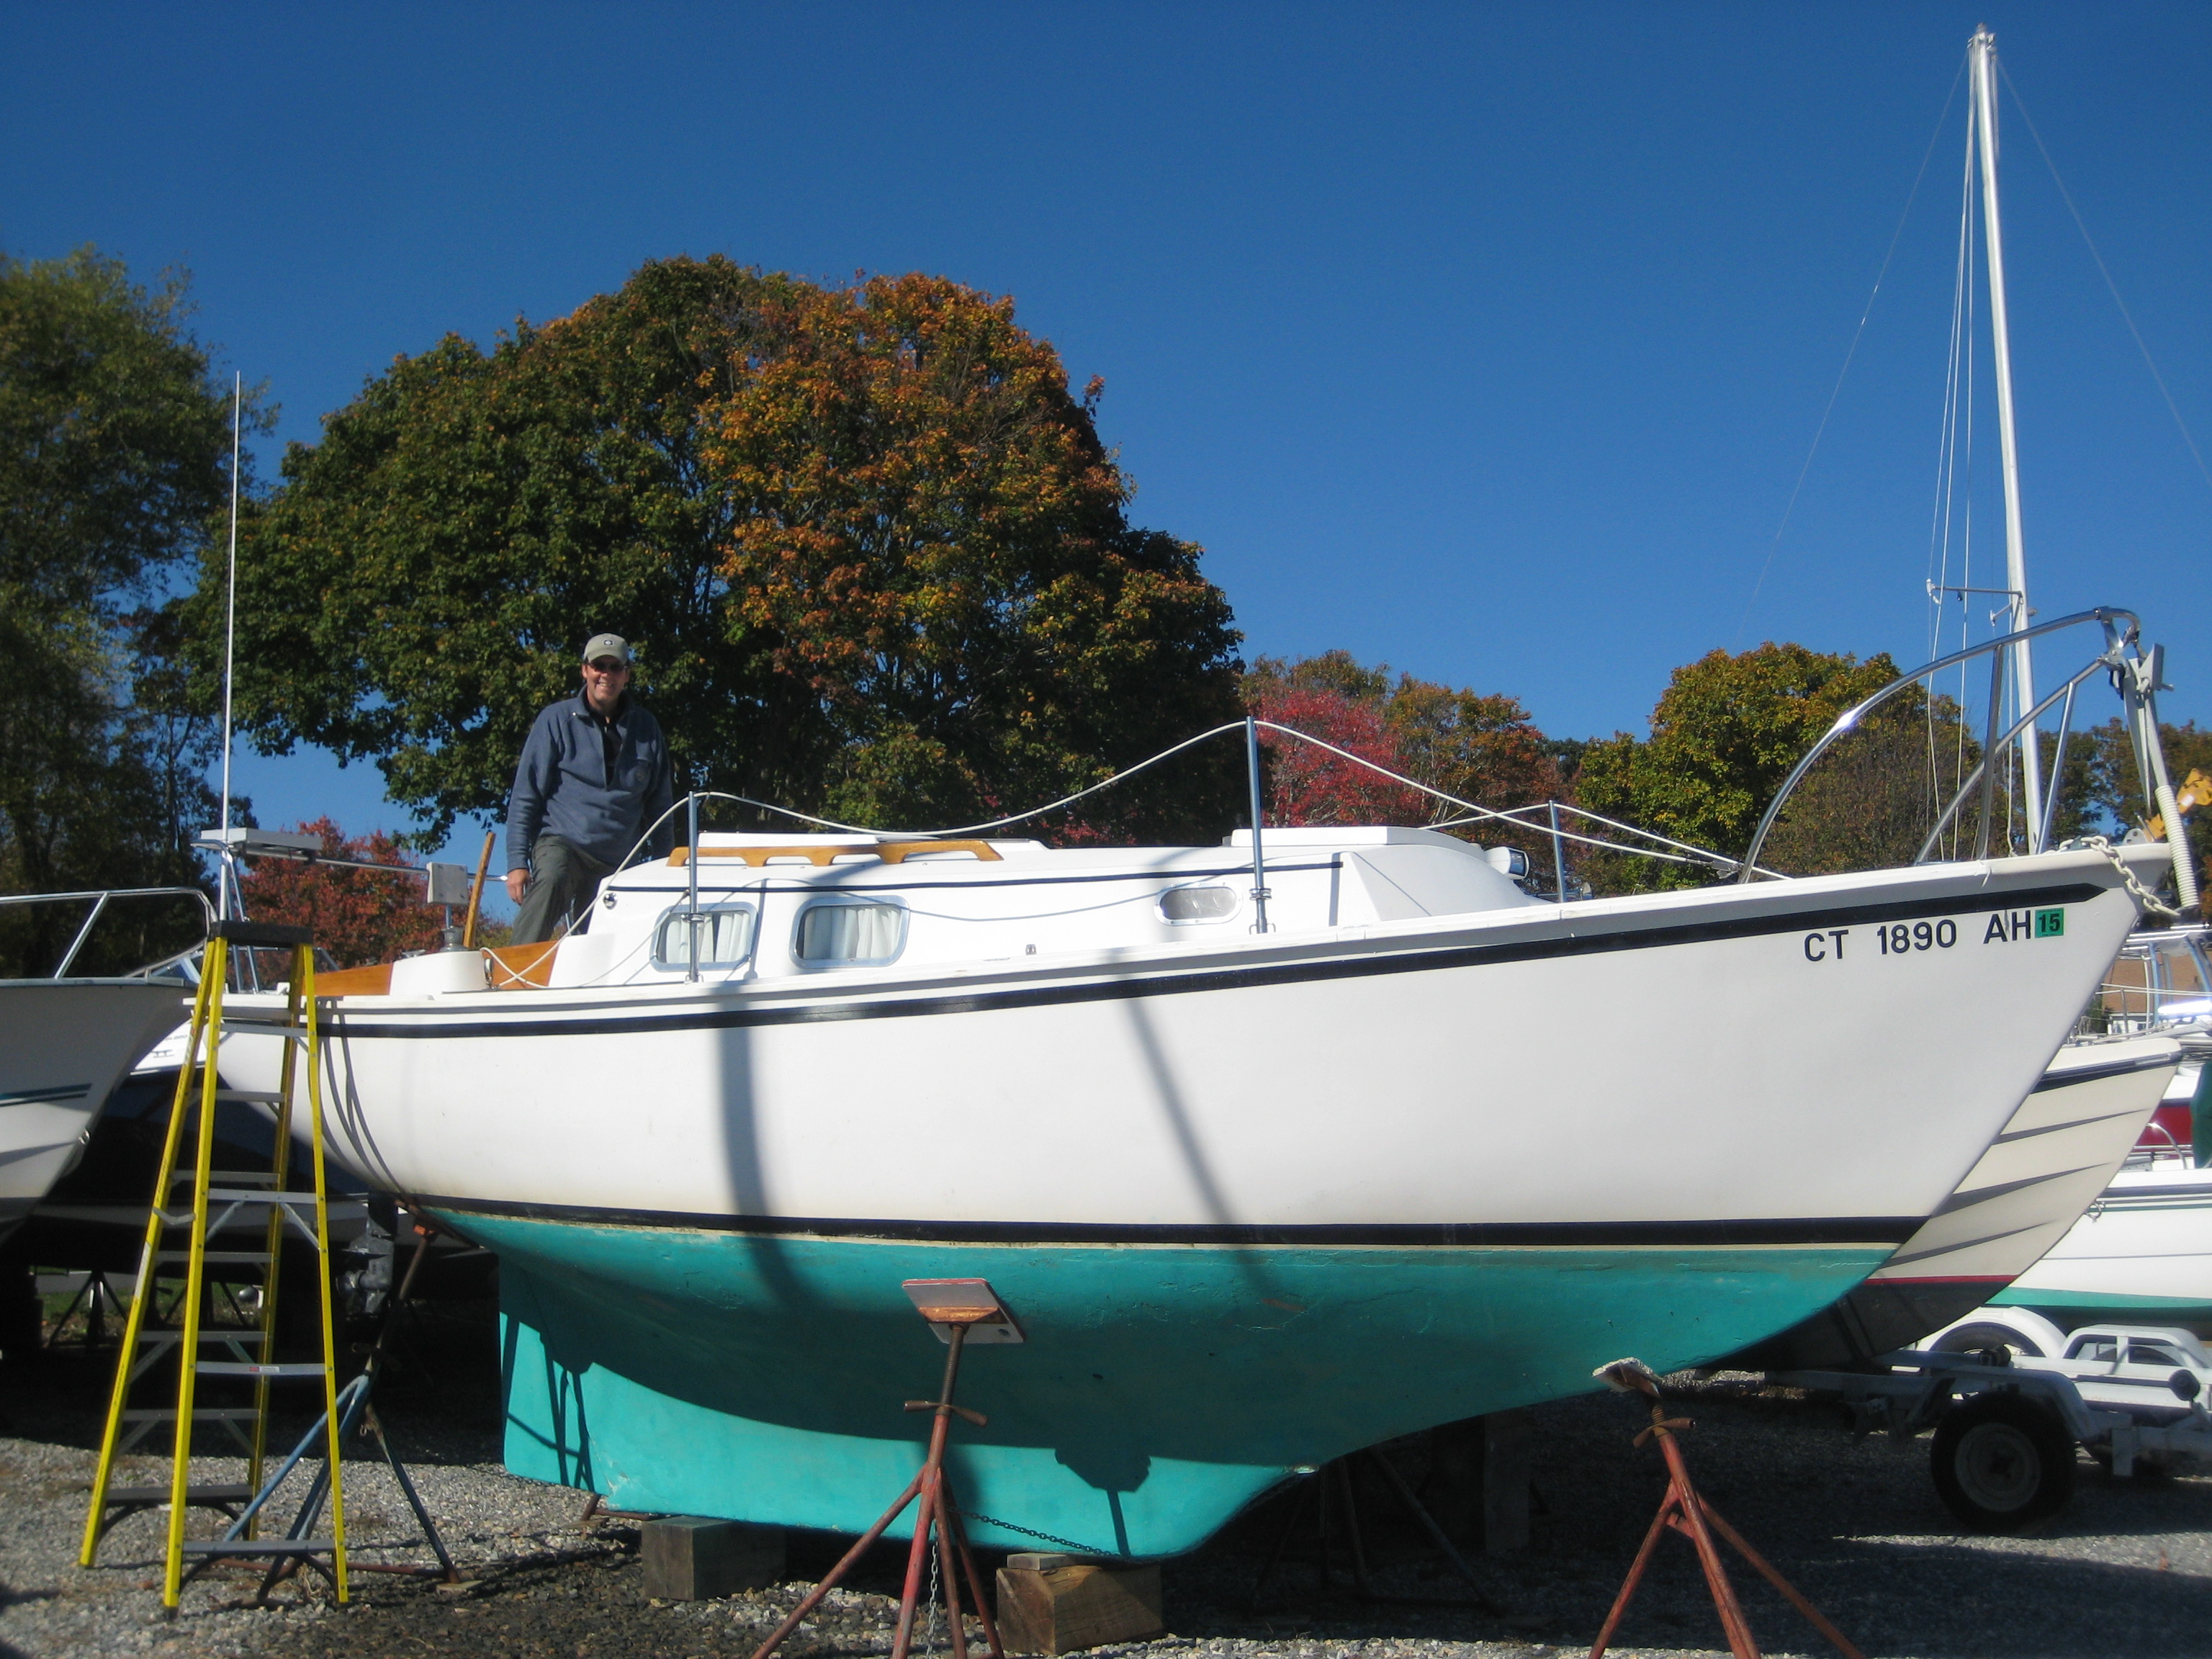
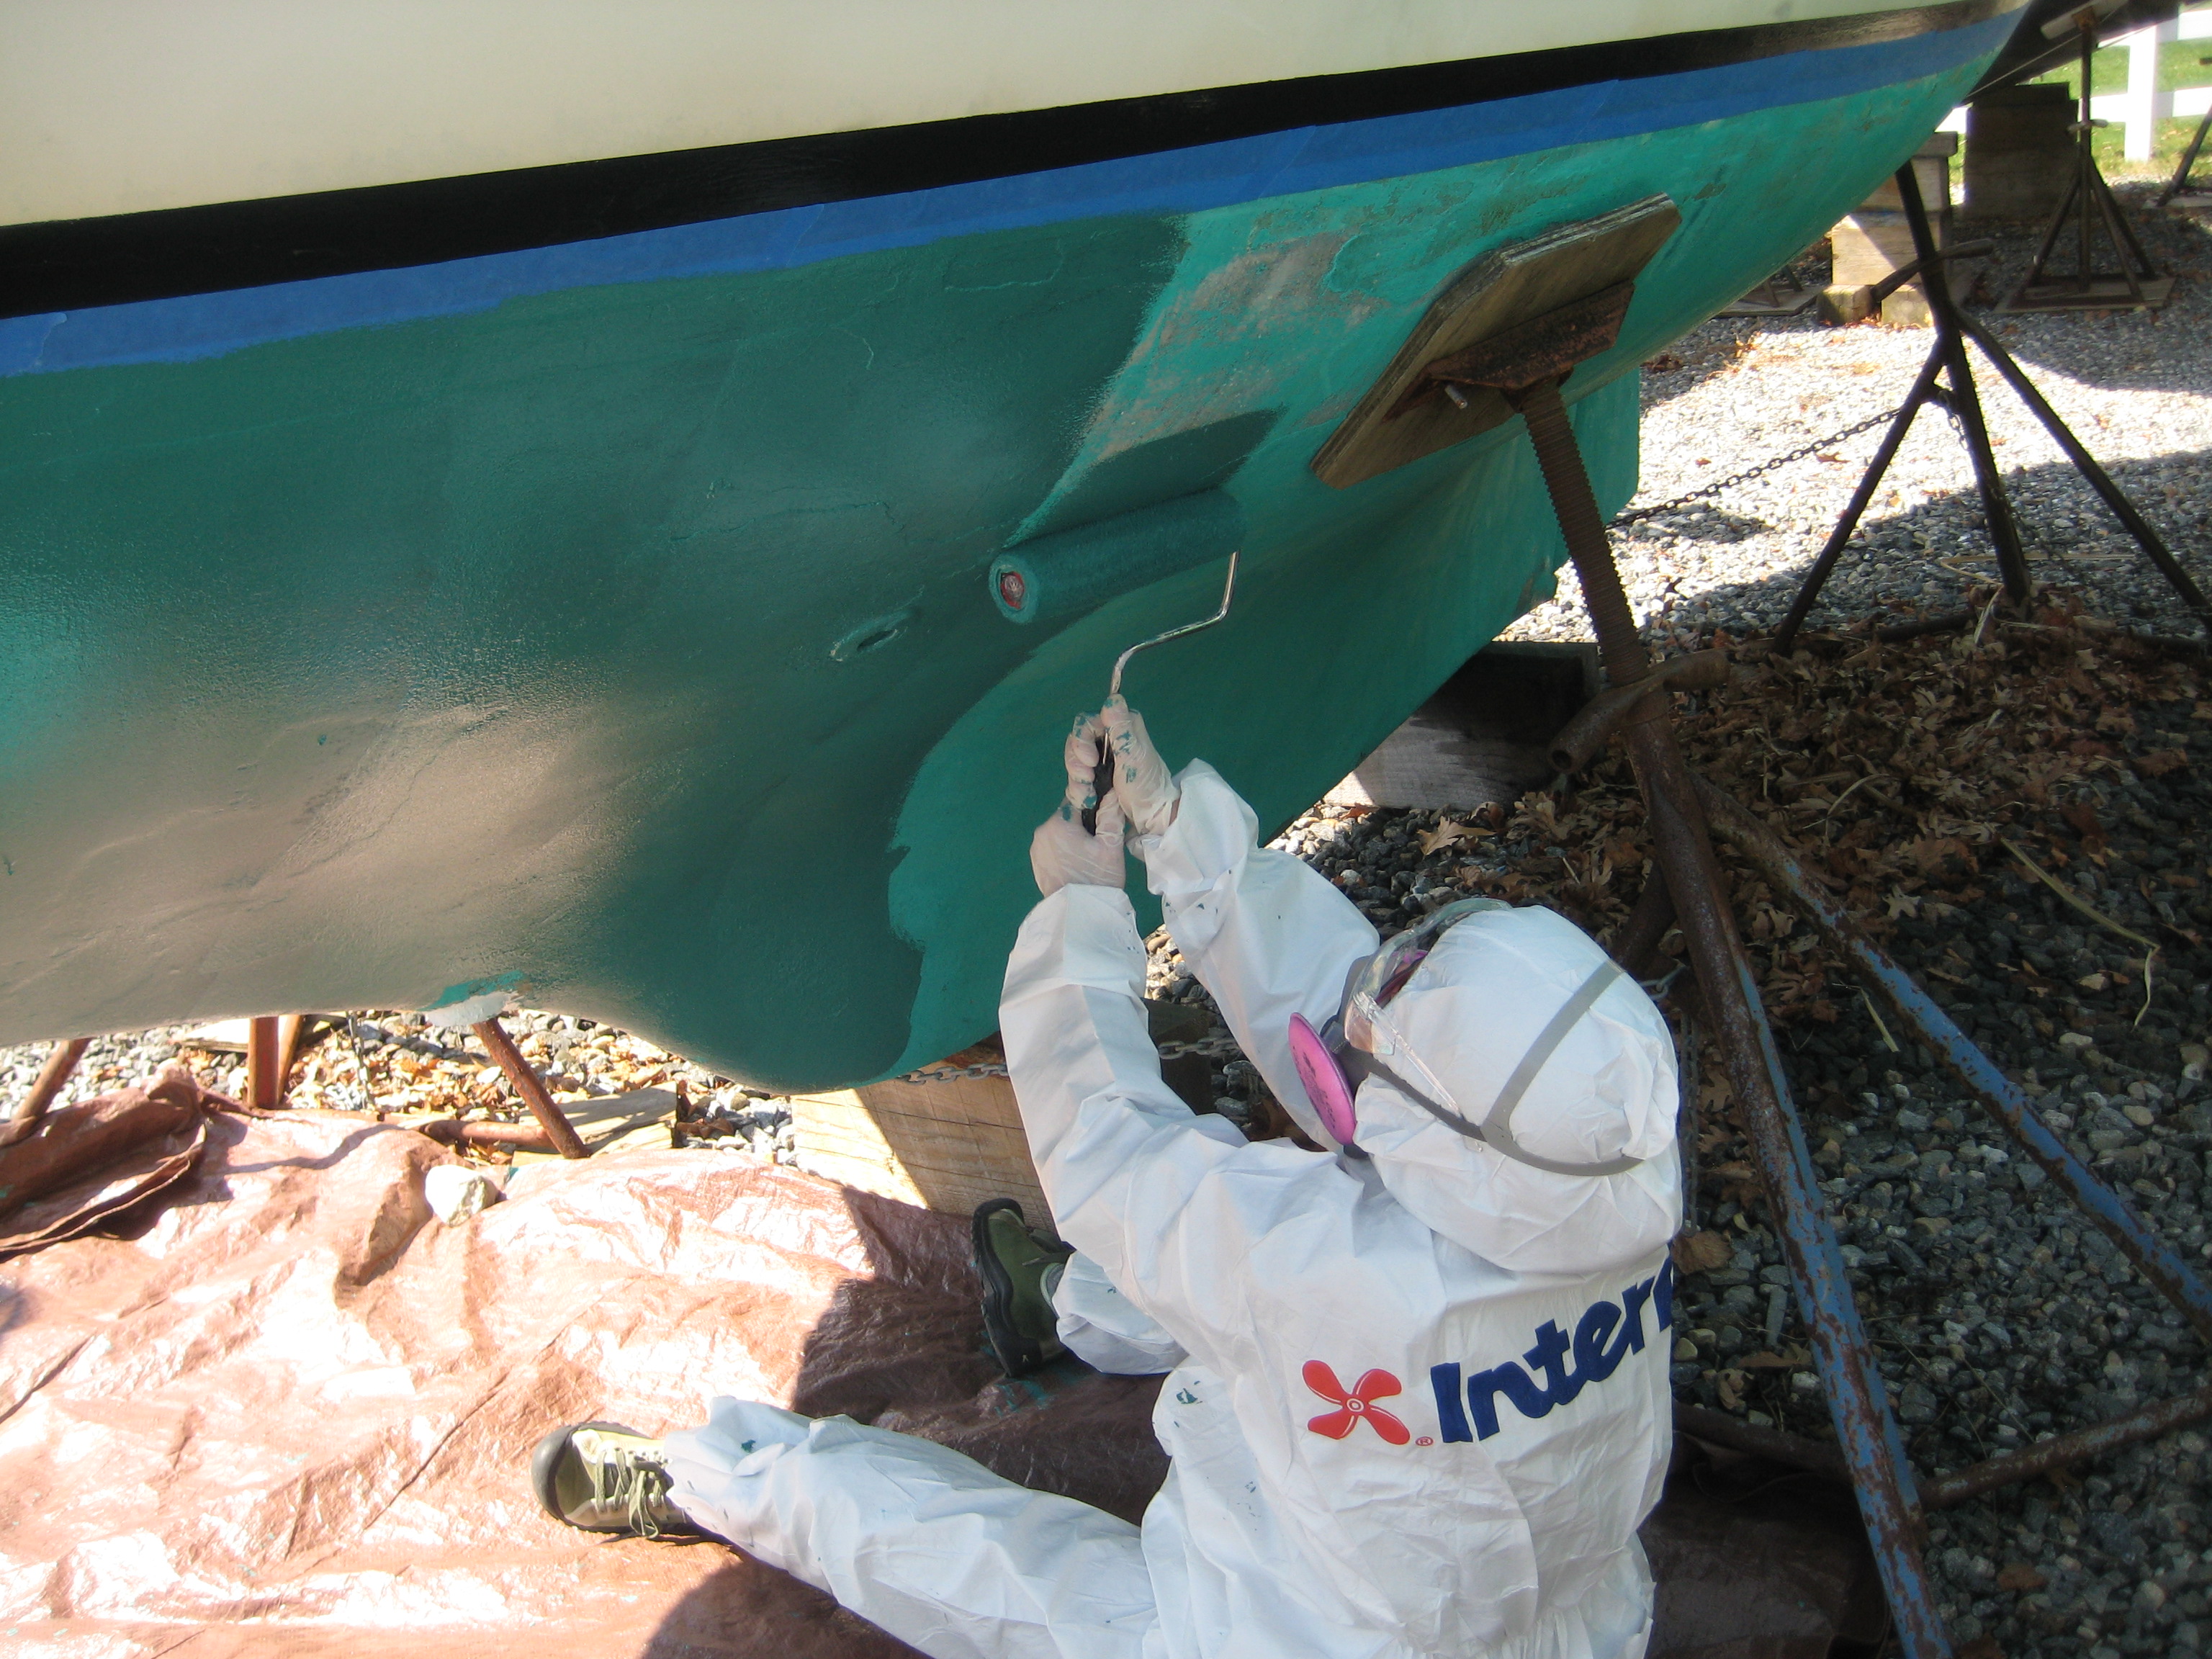
Painting the bottom wasn’t too bad, although poor Jeff’s back was acting up so he cheered me on while I tackled it.  Hmmm.  Last year I also had to paint the bottom because he was working and it was the only good weather day we had.  I’m sensing a trend here.

IMG_3627
All covered up and ready to sling some toxic paint!
The roller gets pretty heavy as the paint starts to load up on it.

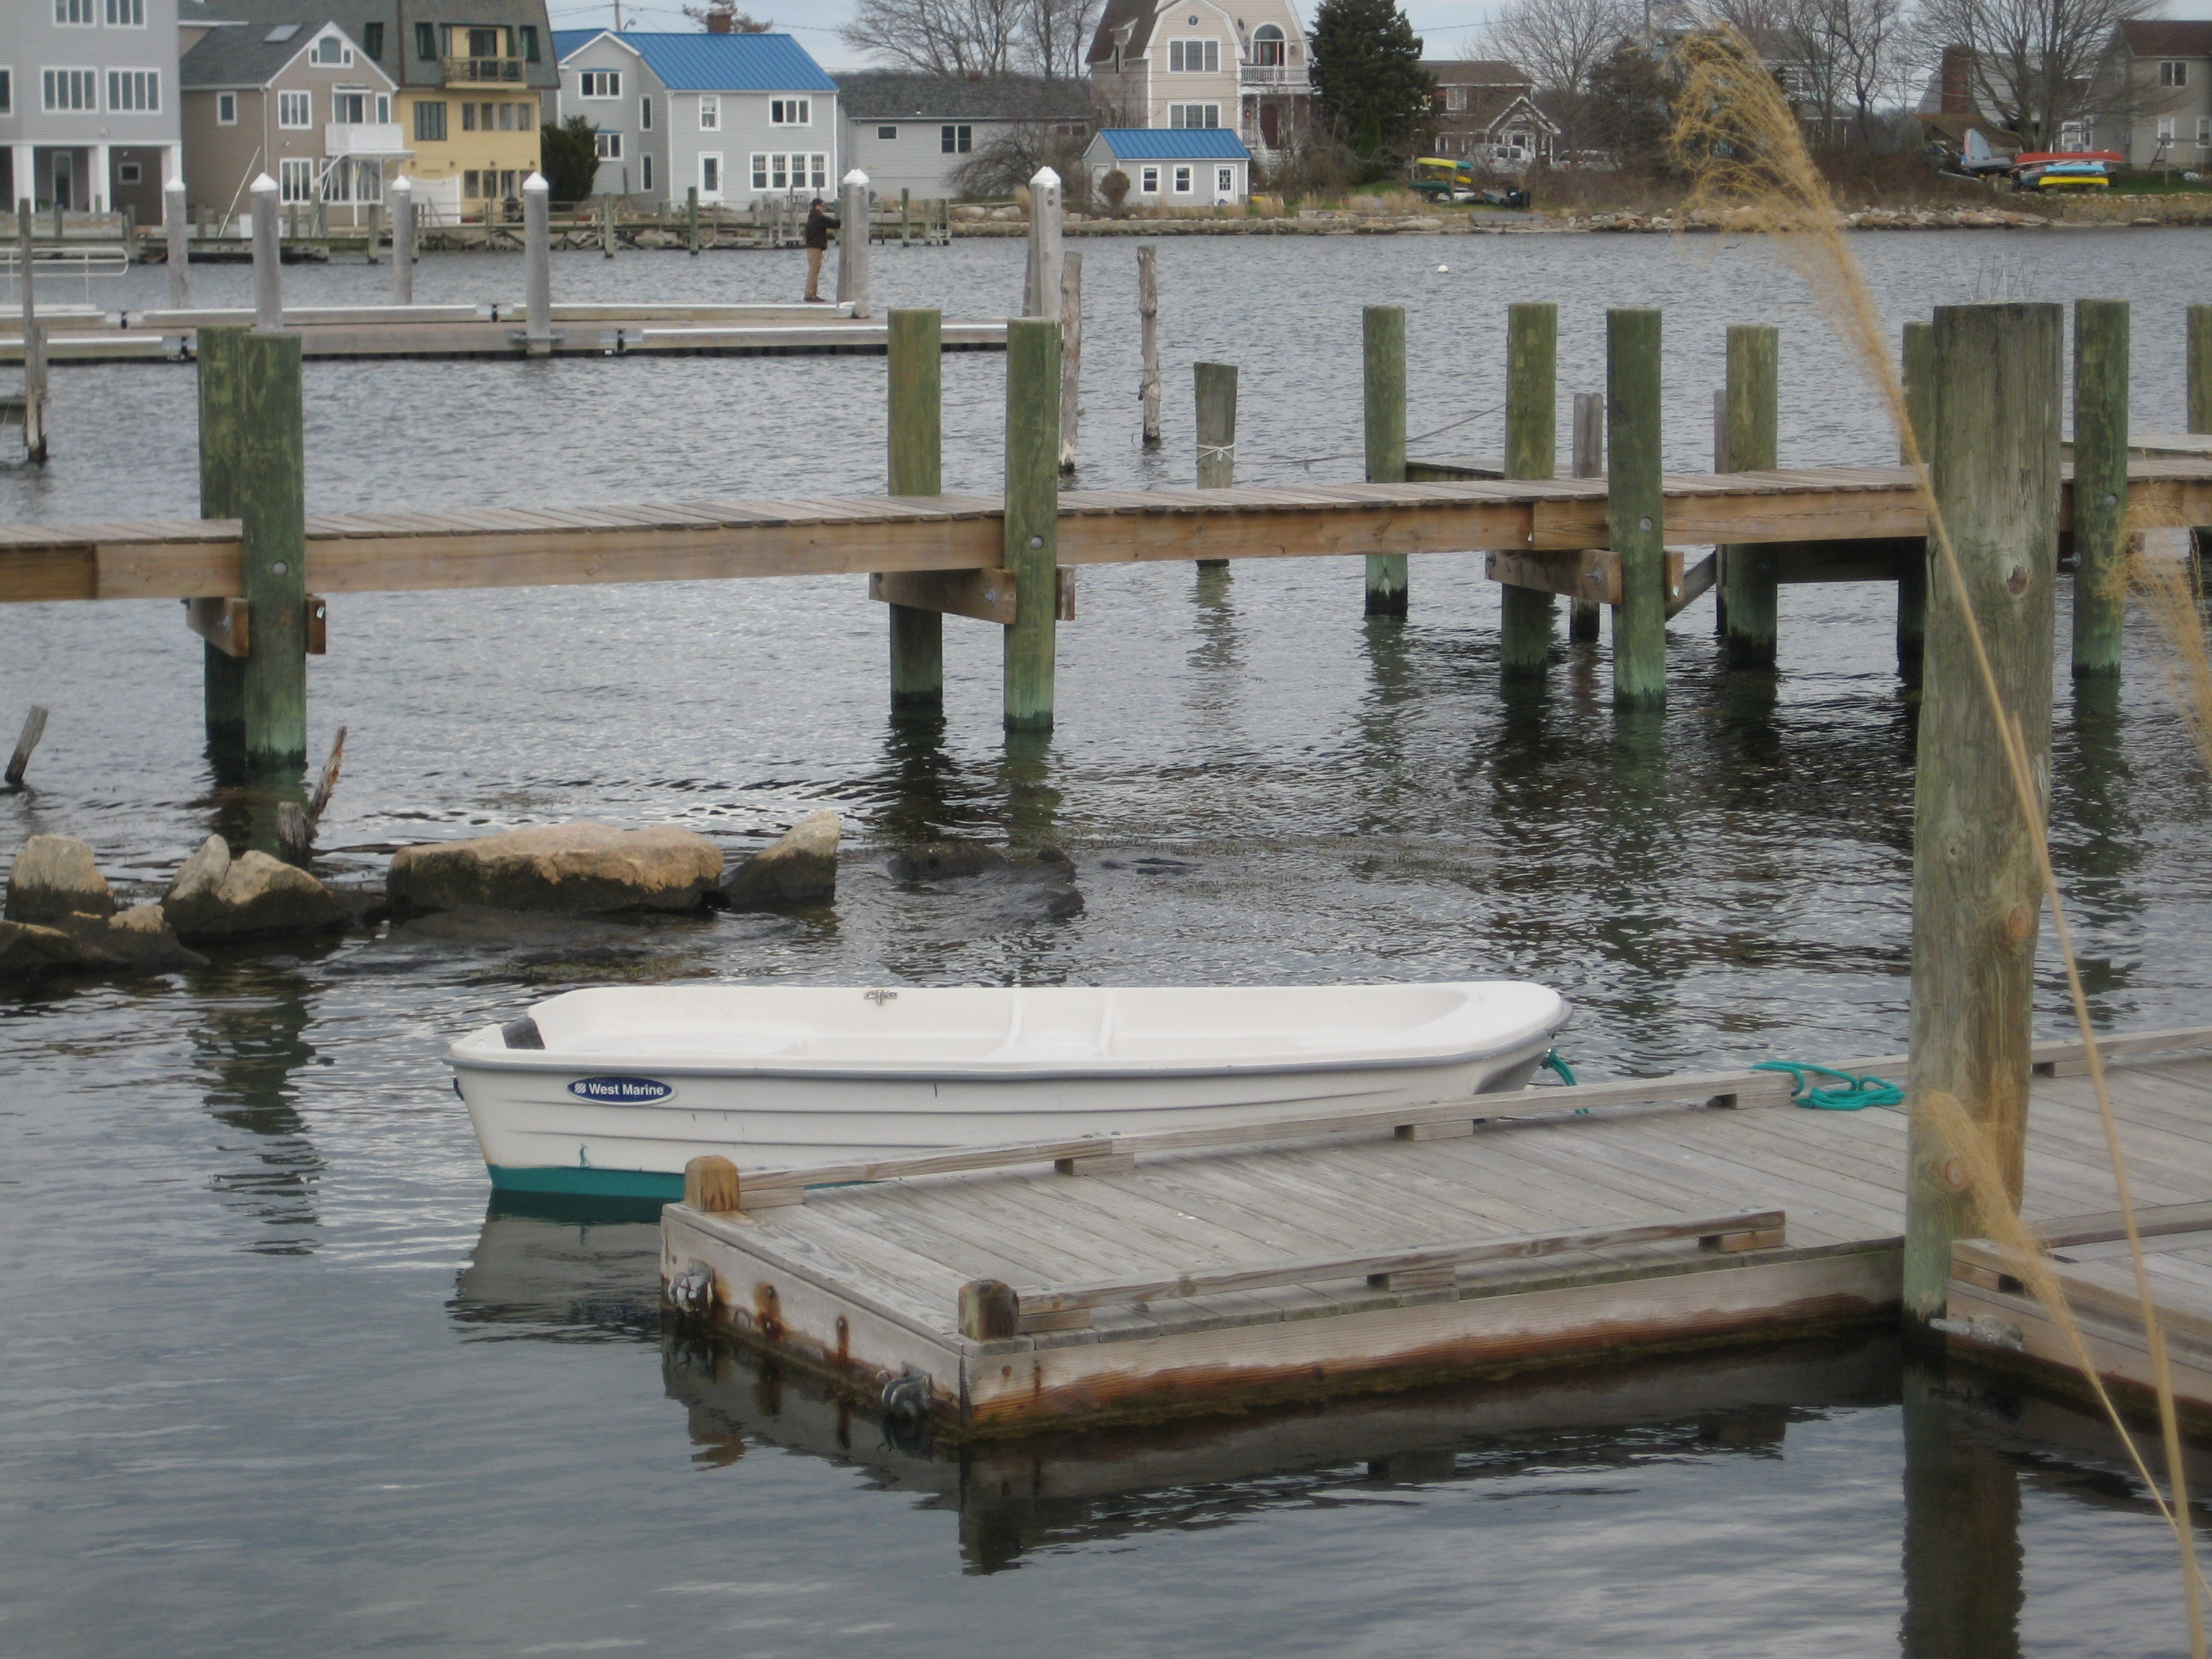
Painting the bottom of the dinghy didn’t go quite as well because it was so darn windy that day.  It has a Jackson Pollock look to it now, officially making it the ugliest dinghy on Fishers Island Sound.  At least no one will want to steal it.

All it needs is the outboard and some oars.

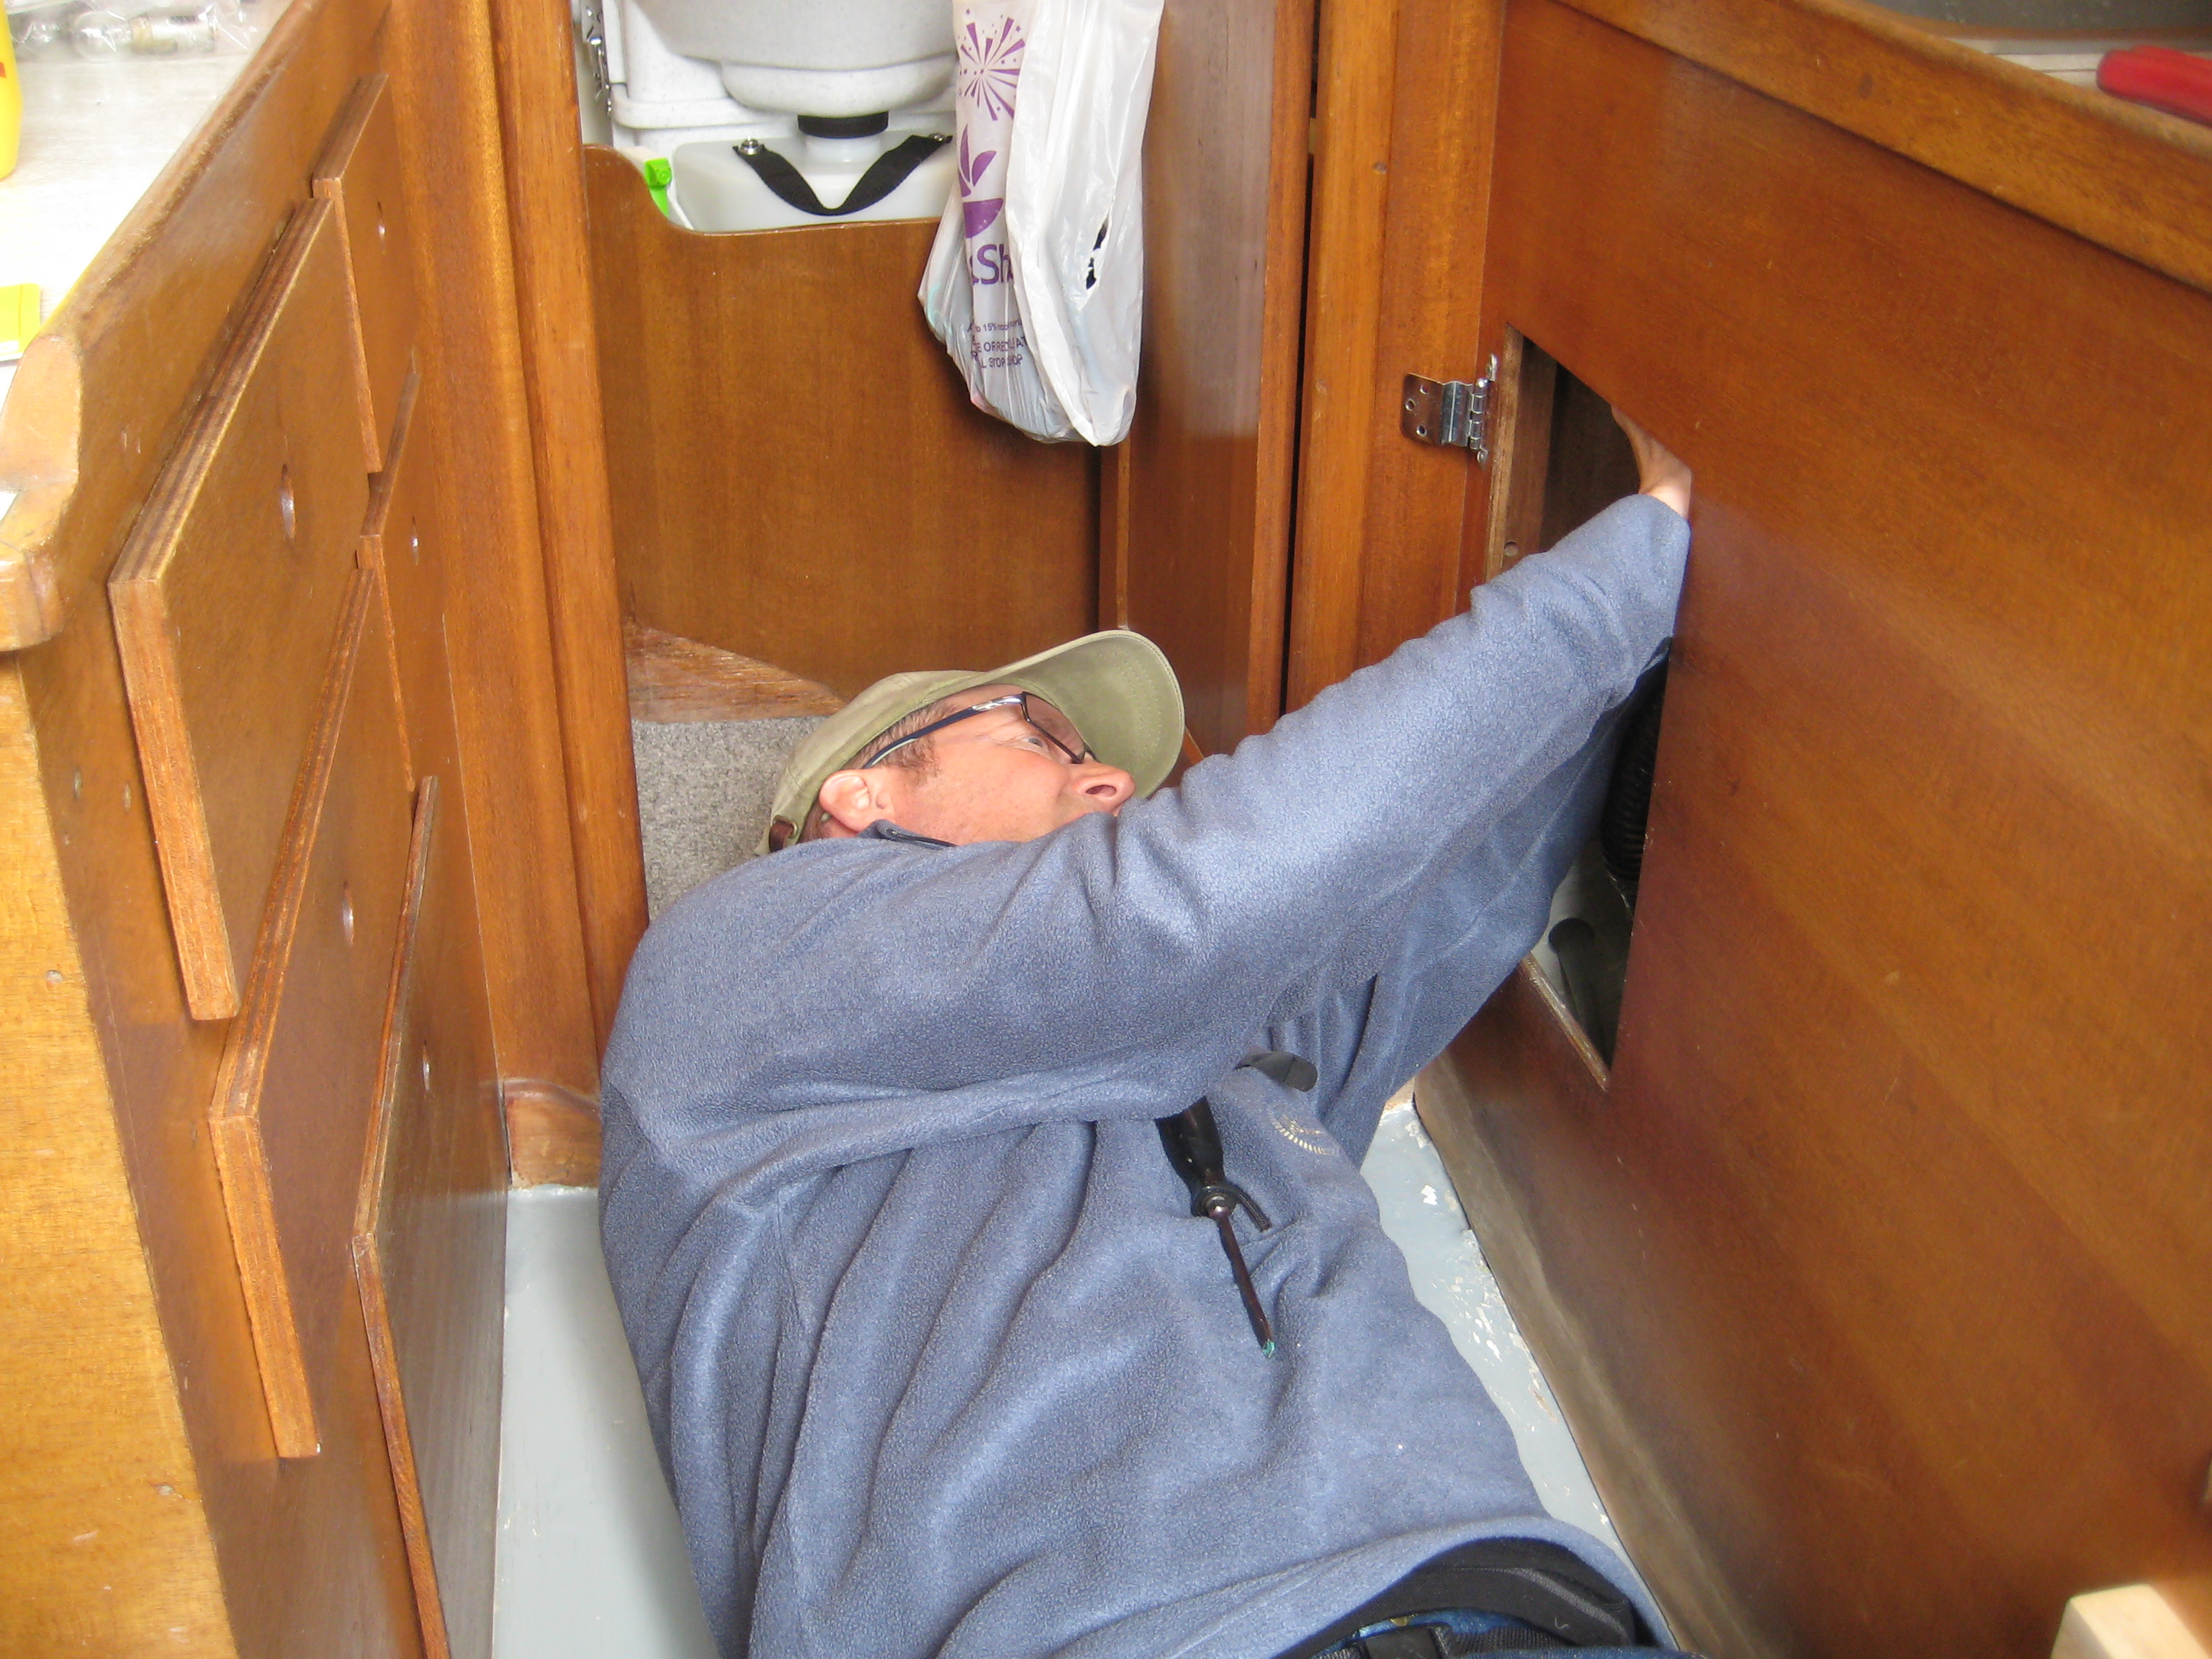
Installing the battery is always a treat.  It’s heavy and in an awkward space.  Getting the cover on and strapped down involves mostly going by “feel” – it’s basically a two-person job.  After wrestling with the battery, and then wrestling some more with the rubber caps where the alternator cable connects to it, we gave each other a high five.  Then we saw that the yard guys had threaded the alternator cable through the swim ladder.  Doh!

Jeff preparing to do battle with the battery.

Getting the swim ladder out involved quite a bit of grunting and not a small amount of swearing.  Picture trying to make a 90 degree turn in a space that seems like it’s only barely bigger than the ladder itself.  We decided to give it a new home in the v-berth so as not to go through that again.

Once the battery was hooked up we had to figure out why none of the lights were working (we had an open circuit because we hadn’t finished wiring the computer fan for the Nature’s Head), and then we had to reverse the wiring on the light that had previously been used to run the computer fan for the Nature’s Head because we got it backwards on our first try.  Sigh.  We do it right because we do it twice.

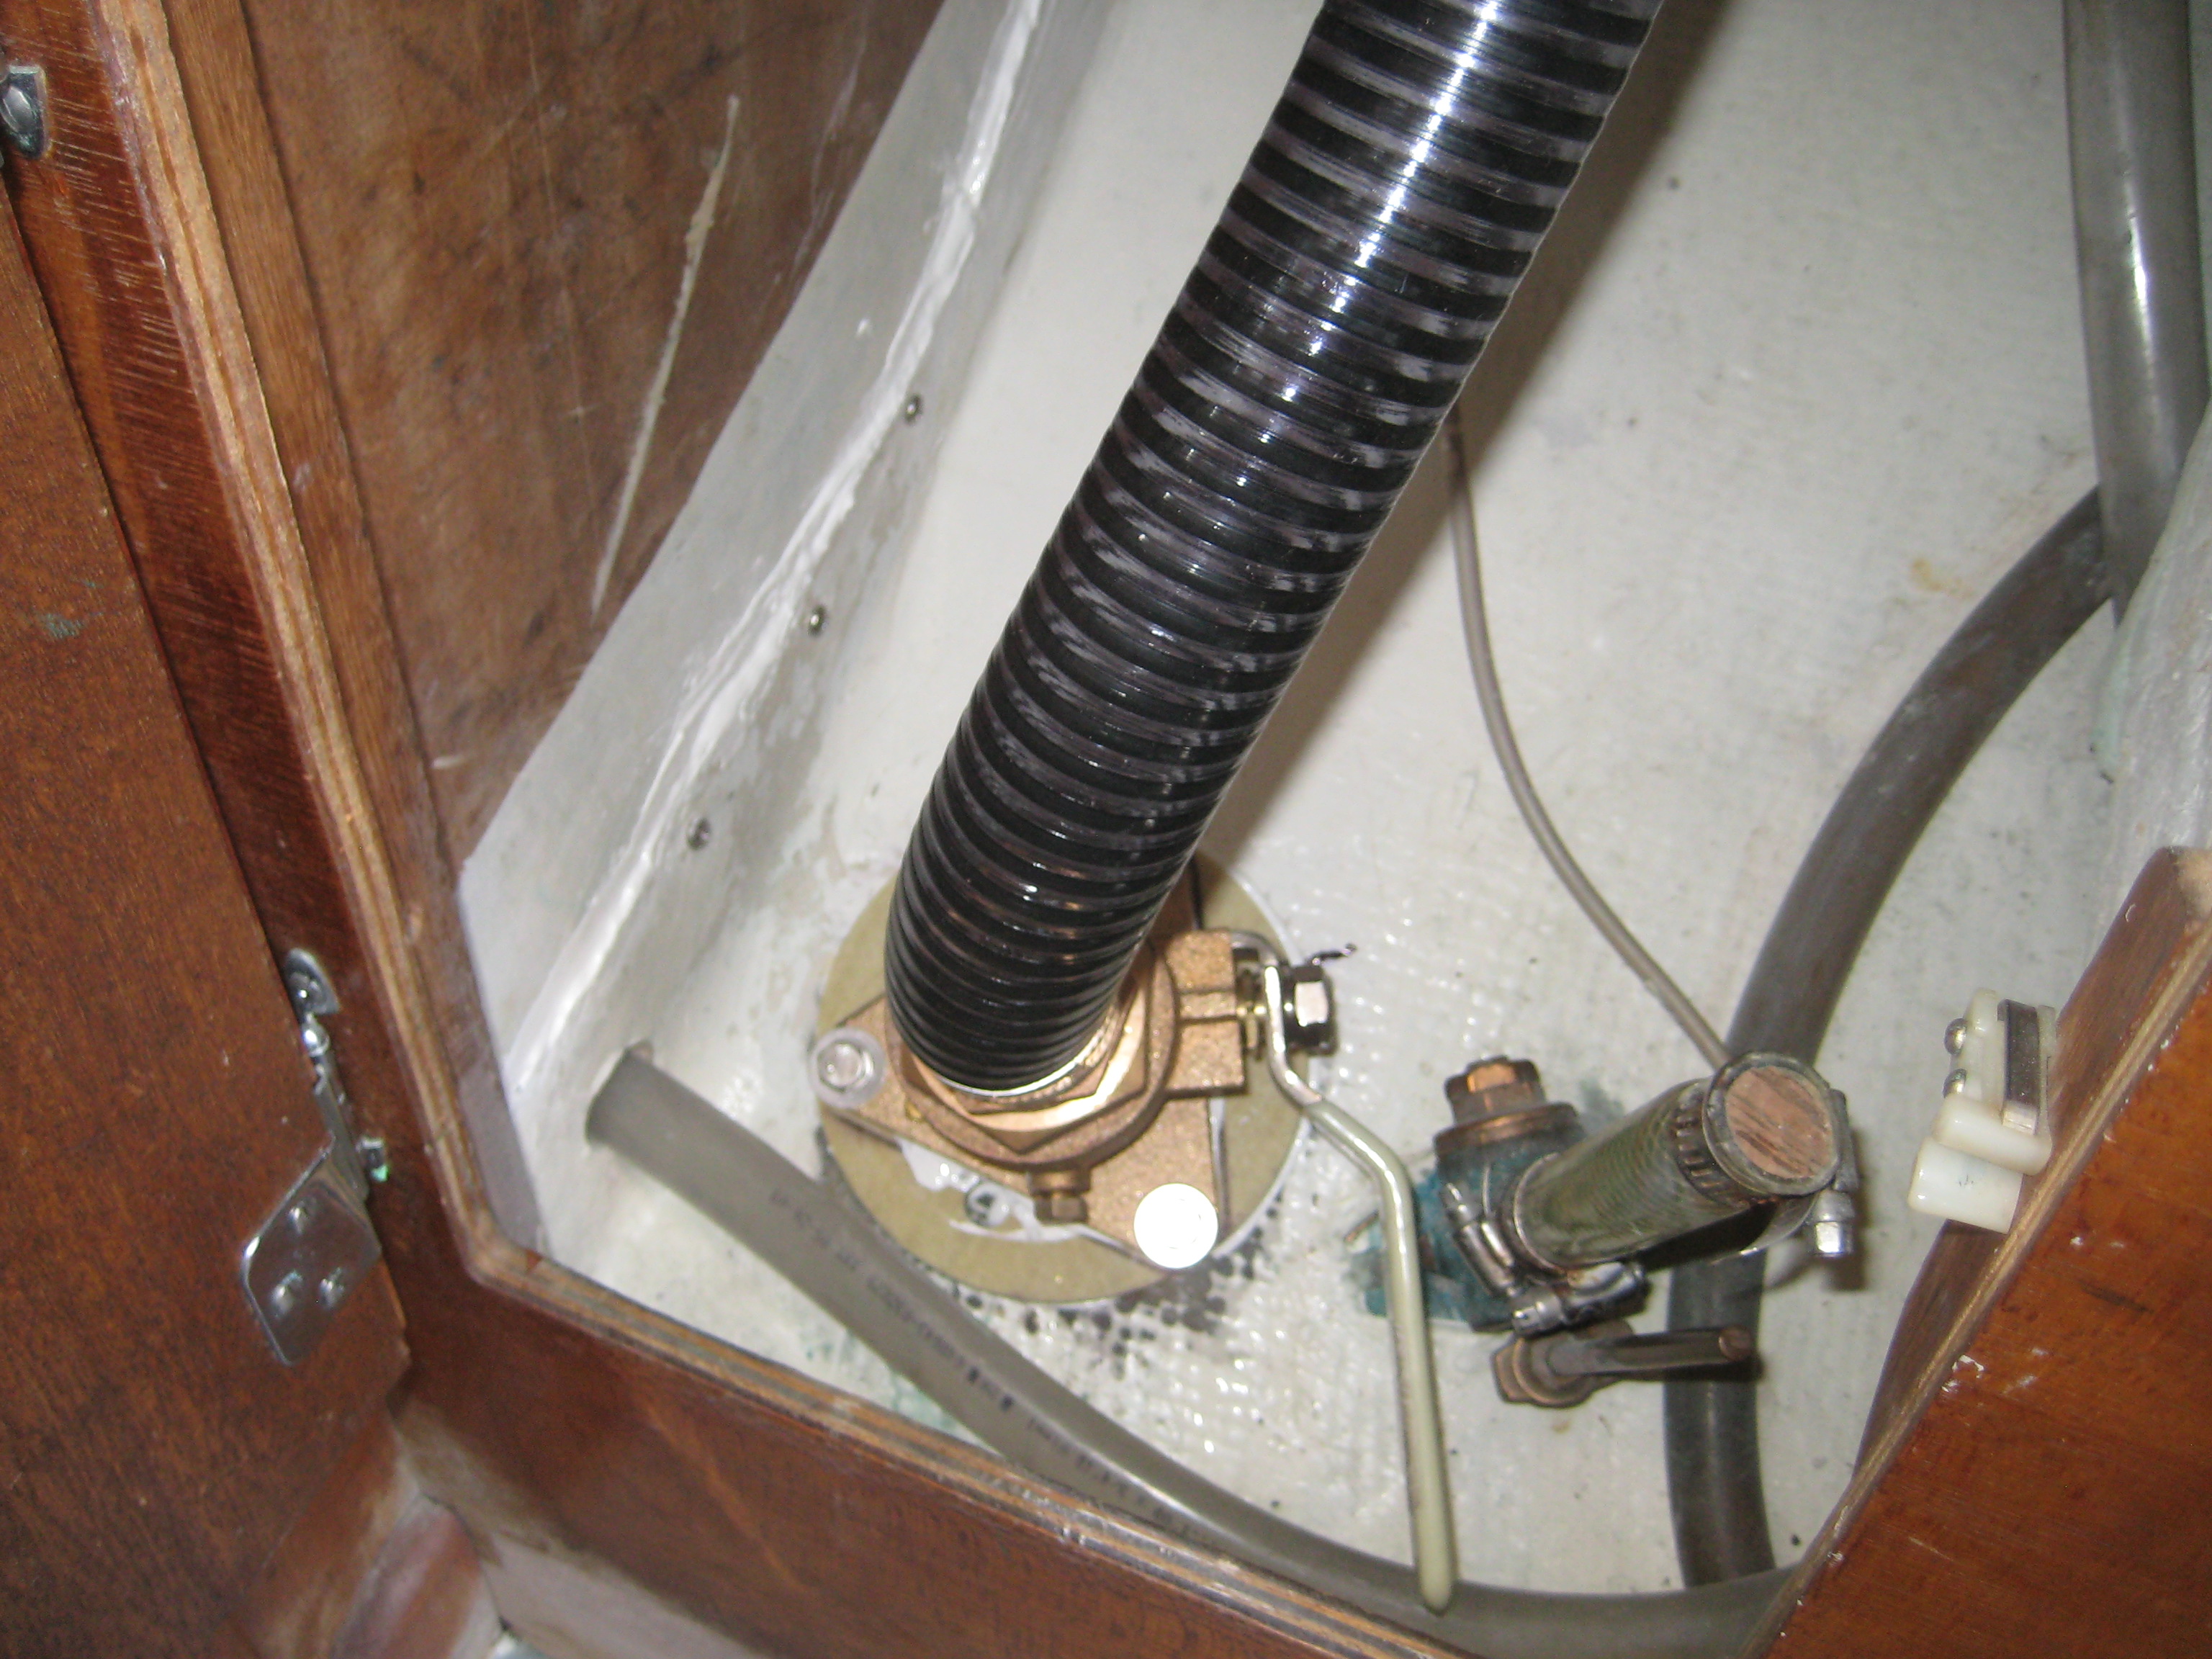
We also filled the water tank, dumped in some Aqua Fresh, and started pumping the water out of the tank and pouring it in the sink.  That’s when we discovered the leak in the sink drain hose that we had installed after replacing the seacock.  There was a beat-up plastic washer that was preventing Jeff from threading the hose onto the drain, so we had decided to leave it off.  Oops.  Guess that wasn’t such a great idea.

Jeff taking the drain hose off.

One trip to Tru-Value Hardware and $1.37 later, we were back in business.  Hey, it wouldn’t be a weekend working on the boat without at least one extra trip to Home Depot, West Marine, Defender, or Tru-Value.

Our new seacock installation with backing block.  We'll find out if we did it right if she doesn't sink once she's splashed.
Our new seacock installation with backing block. We’ll find out if we did it right if she doesn’t sink once she’s splashed.

All of this was accomplished over several weekends, but now it’s reward time.  It’s been a long, cold winter (and spring), but when we see Pegu Club this weekend, she’ll be in the water!

Four weekends to go!

With the calendar finally turning to April, we only have four weekends to go before launch.  Even though Jeff was fighting a head cold, he was still game for getting a few things done on Pegu Club so we made our way down there last Saturday and Sunday.  Now that he has weekends off, we’re able to get so much more done.  And when the season starts we’ll have double the sailing days!

On our drive down to the marina we could see a reddish hue on some of the trees along the freeway, a precursor to budding leaves.  We were pleased to discover when we arrived that the the last of the snow had melted at the marina, and the mooring balls had been placed in the water.  It’s definitely getting closer to sailing season.

We started off by wrapping up our small electrical project – we think.  The battery on our boat has two small boxes attached to the terminals:

Picture from the Defender website.

We were never sure what they were, but in researching how to wire the fan we discovered that they allow us to connect four items directly to the battery.  All four slots are being used, so we bought another set for the computer fan.  Since the fan needs to be on 24/7, there’s no need to use the off/on switch on the electric panel so it makes sense to simply wire it directly to the battery.  The fan came with an inline fuse, so we spliced it into the marine grade wire that we had previously purchased and the ran the line from the fan to the battery location.  Hopefully there will be enough space on the terminal to add the new ones.  We’ll find out when we put the battery on the boat in a few weeks.  If it fits and it works, the project will be crossed off the list.

In addition to the wiring we made some more progress on our thruhull/seacock installation.  Pegu Club can’t go in the water until this project is finished, but it’s been too cold until recently for the sealant that we’re planning to use (3M 5200) so the project has been on the back burner.  Now that temps have risen into the upper 40’s and 50’s in Groton, it’s time to get cracking.

Thru hulls are generally too long when you buy them, I think because the hull thickness varies on different boats and there are different styles and sizes of seacocks that people buy.  The excess gets cut off after a dry fit, so we got to work on that so we could finish the installation the following weekend.

Jeff discovered that the original hole needed to be SLIGHTLY larger so he busted out his trusty Dremel and did some slight sanding.  We hadn’t brought a mask with us, so he used his always-present hankie bandana-style.

" 'cause I'm a cowboy...on a steel horse I ride."
” ’cause I’m a cowboy…on a steel horse I ride.”

Once that was finished we measured several times, checked our math (dusting off our fractions skills from elementary school – converting, adding, simplifying), and used a marker to draw where he was going to cut the thru hull (which he cut at home).

Back at the marina on Sunday, Jeff sanded the inside of the hull where the backing plate would be installed, along with the outside of the hull where the thru hull flange would be.  A potent cocktail of dewaxing chemicals was used to clean the area (a proper mask with filters was used this day), and then one more dry fit confirmed that we would be all set to finish the installation next weekend.

This project has gone much more smoothly than we anticipated, undoubtedly due to Jeff’s extensive research.  The new seacock, thru hull, and backing plate provides for a much beefier-looking system than the prior factory installation.  The old setup didn’t have a backing plate, which I think is the primary difference.  Anyway, our plan for the next boat is to replace all of the seacocks and thru hulls (unless the prior owner has already done it), so this project is a good confidence booster.  Provided that Pegu Club doesn’t sink within minutes of her being splashed into the water!

Finally, Jeff had a bit of energy left so we removed the brackets holding our old anchor and took the old chain and rode off of the boat.  Then we measured out the new rode placing a zip tie every 25 feet and using a different color at the 100 foot mark.

IMG_3623

Hopefully that will make it a bit easier to keep track of how much we’ve let out when we anchor.  The new chain and rode went onto the boat, and we called it a day.

IMG_3625

While it was a bit nippy from the wind, it was nice not to be freezing, and it was really nice not to have to shovel a path to the boat.  I think it’s safe to say that winter is finally over!

Hmmm. This doesn’t look like the picture in the book.

There’s still snow on the ground, but we’ve started our weekly trips down to the marina to work on the boat.  At this point we have six weekends left before we are planning to splash Pegu Club for the season (although that may be optimistic if temperatures don’t start getting consistently into the 50’s soon), and we have work to do.

Our first trip of the season was a week and a half ago.  Our plan was to get rid of the snow and ice that had been accumulating in a low spot on the tarp, and wire the fan for the composting toilet (WHOO-HOO!) to the electric panel.  Well, the first goal was accomplished, but by the time Jeff was finished he had no desire to slog back and forth through the snow to bring our tools on board, so we called it an early day and went to the Daniel Packer Inn for a beer and cider.

This is not Jeff's idea of a good time.
This is not Jeff’s idea of a good time.

Last weekend we drove down again hoping for a better outcome.  Temps above freezing all week meant that there wouldn’t be as much snow to hassle with, so we were ready to wire the fan.

We are complete novices when it comes to electrical work, but we had been reading the relevant chapters in our various reference books and felt optimistic.  Pegu Club has a simple 6 circuit panel running off of a 12-volt system.  The fan is currently spliced from one of our LED cabin lights, and the plan was to move the wire to the circuit that currently has the cigarette lighter for charging electronics.

Our first stop was at West Marine to buy some wire.  When the sales clerk asked if we wanted two strand plus ground or simply two strand, we confidently stated two-strand was fine.  I was feeling pretty good, because I actually knew what he was asking!

Down to the marina we went.  We climbed aboard Pegu Club to get to work.  This was going to be easy.  Then we opened up the panel.

Wait a minute.  Where are the negative and positive wires?
Wait a minute. Where are the negative and positive wires?

Hmmm.  This did not look like any of the pictures in our books.  Where were the negative and positive wires?  What was that wire leading to the switch?  What the…?  This was no longer looking so easy.

I pulled out my phone and hopped on the wifi to try to figure out what we were looking at.  After spinning our wheels for a few minutes we decided that this was not the kind of thing to try to find on a small cell phone screen.  It was going to have to wait for another weekend while we did more research at home.

So the trip wouldn’t be a complete bust, we decided that it was o.k. weather-wise to remove the tarp system we had installed and let Pegu Club see the sunshine once again.  Any snow that falls this time of year will melt quickly, and it will be a lot easier to board her with the ladder.  A few hours later we were finished.

Hello world!
Hello world!

We drove home feeling a bit frustrated that – once again – a simple project was turning out not to be so simple.  However, no one is born knowing about electrics.  We’ll get there.  And one day we’ll be sitting on our big boat, we’ll look back, and we’ll laugh.  In the meantime, we’ll continue to hit the books.  Hopefully this weekend we’ll be able to cross this simple project off of our list.

Our DIY boat cover.

When we bought Pegu Club the prior owner said that he didn’t cover her in the winter, so last winter we didn’t cover her either.  However, it quickly became clear that the decision put us squarely in the minority of the other boat owners in our marina.  Typically this wouldn’t really be a big deal, but we had a boatload (ha!) of snow last winter.  We really weren’t crazy about the snow piles that were making themselves at home in the cockpit, so we decided that this winter we would cover her up.

People have a variety of solutions for covering their boats.  Some have custom covers made – $$$.  I may consider making one for her when my sewing skills are sufficiently developed, but for now a custom cover wasn’t an option.  Other people rig up their own system.  I have a co-worker who does this, but he’s an engineer and has a frame that is worthy of his degree.  We knew THAT wasn’t going to happen.  Another option is to have the yard shrink wrap the boat, with an access door if desired.  Initially we chose option three.  But we really weren’t environmentally comfortable with the fact that all of the shrink wrap ends up in a dumpster in the spring, and it was pretty pricy.  Shrink-wrapping our boat with an access door was going to run approximately $475.   Ouch.  So we used our google-fu to find a great description for building a frame (no engineering degree required), we ordered up a 30′ x 40′ tarp on Amazon, and hit Home Depot for the remaining supplies.  That’s how we found ourselves at the marina last weekend constructing our DIY boat cover.

The instructions were pretty simple.  Use PVC pipes to build three arches, another PVC pipe for the spine, some 2 x 4’s to support all of it, a plethora of zip ties and duct tape to hold it all together, and an abundance of rags for every possible chafe point.

IMG_3536
A project that goes more smoothly than expected = a happy Jeff.
The completed frame.

Putting together the frame only took around three hours, and if we hadn’t chosen to sleep in we could have finished that day.  But darkness was falling so we headed home and went back again on Sunday.  Of course first we had to make the obligatory stop at Home Depot for more tarp clips – something I had no idea existed before that weekend.  What an ingenious invention!

Sunday was just as pleasant weather-wise as Saturday had been (bright sunshine and 40 degrees), so after another three hours of wrestling with the tarp and getting it set up just so, we were all set!

Jeff fine-tuning the tarp.
IMG_3541
Pegu Club is snug as a bug in a rug.

Final cost – $200 all in, and we’ll be able to reuse everything.  The tarp will probably only last two or three years, but it was only $90 so it still beats the heck out of $475+ annually for shrink wrap.  Plus, we figured it will take us less time to set up next year now that the wooden braces and the PVC pipes have been cut to size.

We drove down to the marina today to see how it was holding up so far, and all is well.  The weather forecast for Christmas is for heavy rain and winds so that will be a big test, but the boat is fairly protected in its spot.  I also think the 30 tarp clips and the rope tying everything down will help.  Time will tell.

There must have been an almost-blue moon last night.

We’ve discovered over the past two years that boat projects almost always have three characteristics: they take at least twice as long as expected, they cost more than anticipated, and they lead to the realization that another project must be added to the list.  Once in a blue moon, these three things don’t happen.  Well, there must have been an almost-blue moon last night because today we took care of a project that took much less time than we expected, and the cost was under 1/10 of a boat buck (less than ten dollars).  We did end up having to add another project to the list, but two out of three isn’t bad!

During last year’s offseason we replaced the mast light because the original one had lost it’s top before we bought the boat.  Of course a replacement piece wasn’t available, so we needed to buy an entire fixture.  We jury-rigged a fix for the first season but we weren’t comfortable with the possibility of water getting into an electrical item, so we installed a new one.  Being newbies we didn’t test the light before the mast was stepped, and of course once Pegu Club was splashed we realized that the light didn’t work.  It wasn’t a big deal because we weren’t planning on anchoring or sailing overnight last season, so we put it on the list for this winter.

Today saw temperatures in the low 50’s so we decided to take advantage and drove down to the boat to take care of the light.  Our theory was that the ends of the wires were corroded (last season we didn’t know about that possibility), so we brought brought some sandpaper to remove any corrosion.  We also brought electrical wire (yesterday’s trip to Home Depot) and alligator clips (today’s trip to Home Depot) so that we could use the battery from Jeff’s scooter to test our repair (apparently we can learn from our previous mistakes).  The boat battery is sitting in our basement getting a trickle charge, so it made more sense to bring the scooter battery since it’s probably forty pounds lighter.

Jeff got down to work with sanding the wire ends in the light fixture:

IMG_3520


When he went down to the base of the mast to work on the other end of the wires, the problem was immediately apparent:

The top wire is staying together by a single strand.

It appears that when the marina stepped the mast at the beginning of last season, one of the wires ended up getting pinched and almost cut straight through (as seen in the top wire).  Aha!  We’re not sure if it was simply caught underneath and the mast bounced as it was being stepped, or if the mast was actually sitting on the wire.  Either way, that’s why the light didn’t work.  Jeff cleaned the ends, spliced the wires together, and voila:

Let there be light!
Let there be light!

Both lights actually work, by the way.

The cover went back on and in less than 45 minutes after we had started, we were finished.  Amazing.  We high-fived each other, spent the rest of the beautiful afternoon at Mystic Seaport, and finished up with a stop in Stonington to pick up some Bomster scallops for a future Saturday night dinner.  Yum!

One project off of the list.  But what about the new project?  Before we left the house this morning we were researching LED bulbs.  We had intended to swap out the halogen bulb to reduce the electrical draw on this light, because we plan to do some overnight anchoring next season.  It was at that point that the lightbulb went on (ha!) and I realized/remembered that this isn’t an anchor light.  It’s a navigation light.  Anchor lights need to be 360 degrees, and this light obviously is not.  We don’t have an anchor light.  Doh!  So although we have fixed this light, an anchor light has gone onto the list.  Oh well.  Like I said, two out of three isn’t bad.

The offseason work begins.

Just because Pegu Club is out of the water doesn’t mean that we won’t see her again until the spring.  On the contrary – we have plenty of off-season projects planned, and not a lot of time to get cracking until the winter really sets in.

Although the weather has been conspiring against us, we’ve managed to get down to the boat a few times since Pegu Club was hauled out.  The first order of business was to take everything out of the boat so it could be stored in our basement.  And I mean virtually everything: cushions, dishes, pots and pans, lines, sails, winches, the battery, flares, lifejackets, solar panel, etc.  You get the idea.  It did go more quickly this year, however, because we didn’t have to take a bunch of pictures so that we could remember in the spring how everything had been set up.  Not that we won’t still need the pictures.  We’ll just be able to use the old ones again.

Once that was done we gave her a well-deserved bath, scraped the barnacles off of the keel and the propeller, cleaned up the waterline, and polished all of the stainless.  Then it was time to really get started: the first off-season project.

She's no longer a dirty girl.
She’s no longer a dirty girl.

Our first priority is to replace the sink drain seacock.  We discovered at the beginning of our first season that this seacock was weeping.  After some initial hyperventilating, obsessing, and quizzing every boater we knew as to whether we should haul the boat out of the water, we relaxed, closed the seacock, and put a bucket in the sink to do the dishes in.  During the off-season we lapped the seacock, crossed our fingers, and promptly discovered at the beginning of the second season that it was still weeping.  A bit less hyperventilating this time.  The bucket remained in the sink, and replacing the seacock moved to the top of the off-season list.

We did our research, including posting on the Bristol Yahoo group and reading the appropriate section of “This Old Boat” by Don Casey, and went to work.  Jeff did yeoman’s work trying to remove the seacock from the inside, but dynamite wasn’t going to get that thing to budge.  We were going to have to go through the thru hull.  The UPS man delivered a Dremel to the house via Amazon, and we went back the following weekend for a second try.

Jeff busted out the Dremel, took a deep breath, and started cutting.

A man and his Dremel.

It went much more quickly than we anticipated, and before we knew it the thru hull popped out, the seacock was off, and we had a hole in the boat.

IMG_3486
She’s not going anywhere near the water until this hole is filled.

It was a gorgeous day and frankly, if we had known it was going to go that quickly we would have been better prepared to keep working.  Unfortunately, this was all we had planned for the day and it was in the lower 60’s.  We are going to regret this missed opportunity when we’re working outside with temperatures in the 30’s and 40’s.

Back at home, we’ve been researching what seacock we want (Groco), what kind of backing block we want to use (Groco rather than wood), whether to drill the screws through the hull (no), and how to attach the backing plate (still undecided).  We’ve been reminding ourselves that once we’ve finished this, future seacock replacement will go much more quickly!