When Jeff and I went to the Annapolis boat show last fall, one of the major items we wanted to purchase was a windvane.As long as there is wind, windvanes can steer a sailboat 24/7 without using any electricity.Consistent with our “keep it simple” philosophy, we knew that it was the way to go for us.All we needed to do was make a choice amongst the different types that are manufactured.
By the time we flew down to the show we had done our research and decided to purchase a Hydrovane.We went to their booth, checked it out, and spent some time talking to the rep.However, before we pulled the trigger we thought we should do our due diligence and also look at the Monitor windvanes.After looking at it and speaking to Mike Scheck (the President of Scanmar), we walked away with Jeff saying, “Well, I think the Hydrovane is the way to go.”I looked at him and said, “I prefer the Monitor.”Uh-oh.
Jeff and I have been married since 1999 and we have always agreed on big purchases.At $5,000 this certainly qualified as a big purchase, but for the first time in our marriage we didn’t agree.This was going to be interesting.
We decided to replace the deck fill hose that leads to the water tanks. It wasn’t something that we HAD to do – we had simply been filling both tanks through their ports – but it would make the task a little easier because we wouldn’t have to remove the v-berth cushions to get to the v-berth tank.
It seemed like an easy project. Take off the 40 year old hose, put on a new one. Shouldn’t take more than a couple of hours, max. When will we ever learn?
There was no wind on the weekend of July 15th. And when I say no wind, I mean none. Of course that doesn’t mean that we didn’t head down to the boat anyway. Skipping a weekend would be crazy talk!
So what do we do when there isn’t any wind? Take care of some boat chores of course. First up was to fix an issue with the support under the cabin sole that we had recently discovered. The supporting piece that holds up the sole hatch had sunk down approximately 1/2″, sinking the sole in that general area with it (but only a fraction of an inch). You can see Jeff’s pinkie finger under the trim piece.
The bulkhead wasn’t affected, but we suspected it was the source of a very loud creaking sound when we walked over that area, and we wanted to fix it before it got worse.
After getting some advice from the Bristol Sailboats Facebook page (including from a fellow Bristol 29.9 owner who had made the same repair), we got to work. Jeff used a lever to raise it and inserted some temporary shims to hold it in place so he could drill some new screw holes. It sounds like a quick and easy job, but of course it’s a boat. Our drill was about an inch too long to fit into the available space, so we borrowed one from the club “garage” which gave us about half an inch to spare.
After Jeff drilled pilot holes he successfully drilled in the first screw. Then while he was inserting the second screw the 40 year old wood cracked. Damn. Well that ended up being all for naught. After pondering what to do, we decided to insert plastic shims which we will epoxy into place at a later date. With that job finally done, we next turned our attention to the v-berth.
After taking care of our propeller shaft stuffing box last fall, it was time to turn our attention to the rudder shaft stuffing box. Jeff had noticed during last season that the hose surrounding the stuffing box was very old with many signs of serious cracks. Given that a rupture of the hose would result in a significant amount of ocean water coming into the boat, we knew we needed to take care of it this offseason.
Unable to find anything online about servicing the rudder shaft stuffing box, we were essentially going to have to go in blind for this project. Not surprisingly with a 40 year old boat, its been a challenge, and unfortunately we’re not finished yet.
The week leading up to the weekend of August 13th was hot and humid. Temps were in the 90’s and it was thick-air-like-breathing-through-a-wet-blanket humid. At one point I did a comparison of the temps and dew points between West Hartford and Sarasota, FL, and they were the same. I’ll take it over winter any day, but with no air conditioning in the house I was looking forward to heading to the boat. Unfortunately, work was interfering so heading down on Friday evening was out, but I went to work at 6:30 a.m. on Saturday in the hopes of salvaging some of the weekend, and by mid-afternoon we were driving to Shenny.
With one weekend left, the push was on as we drove to Shenny last Saturday. With rainy weather forecast for Sunday, our main goal for Saturday was to paint the fourth coat of Interprotect plus the two coats of bottom paint onto the hull. Everything else would be gravy.
Timing the fourth coat of Interprotect plus the first coat of bottom paint is important. The goal is to apply the bottom paint while the barrier coat is semi-dry. You want to leave a thumb print in the paint without getting paint on your thumb. If you wait too long your choice is to either paint a fifth coat or sand the bottom. At over $100/gallon a fifth coat was not appealing, nor was more sanding, so as we drove down we discussed our strategy. Continue reading “The final weekend before splash!”→
When I last left off, it was Sunday night and we had just finished applying the first two coats of Interprotect. That evening I voiced a thought that had been rattling around in my head for the past few days. “Jeff? What do you think about putting the launch date off for a few days?” “I’ve been wanting to do that for the last month, but I knew if I suggested it you would say no.” He knows me so well.
Although I really didn’t want to push back Pegu Club’s splash, I couldn’t avoid the fact that we had only one weekend left and a ton of work left. It wasn’t that I thought we could get it all done. After all, the boat to-do list is never finished. It’s just that it was going to be very difficult to complete the things that we either had to or really wanted to do: painting, cleaning the water tanks, washing the boat, etc. So we decided to delay until May 6th. It would give us one extra weekend plus several possible days for painting.
As for painting, as soon as we arrived at home that night I had looked at the forecast. What had been predicted to be 42 overnight was now a frost advisory with a projected low of 35! Ack! Continue reading “Wow! That was a productive weekend!”→
As much as we’d like it, not every weekend ends up with a sail. This last weekend was looking like a bust wind-wise, but that wasn’t going to keep us from heading down to the boat. Nope, it just meant that this was going to be a weekend for some boat chores – and apparently two trips to Defender.
We stopped at Defender on our way down to pick up 75 feet of dinghy line for the new dinghy slip. We’ve joined Shennecosset Yacht Club (the subject of a future post) and they have some sort of pulley system for tying the dink into the slip. I’m sure there’s a name for it, but my Google searches so far haven’t helped me to find it. I can’t even describe it well, so a picture will have to suffice. Continue reading “Boat chores.”→
Although the forecast wasn’t promising for the long weekend, we headed down to the boat anyway on Saturday after Jeff got out of work. The forecast is wrong quite often, and we lucked out in that this time it was wrong again. We had great weather during the day, and on Sunday night after Cruiser’s Midnight we had some thunderstorms and hard rain which cleared out by Monday morning.
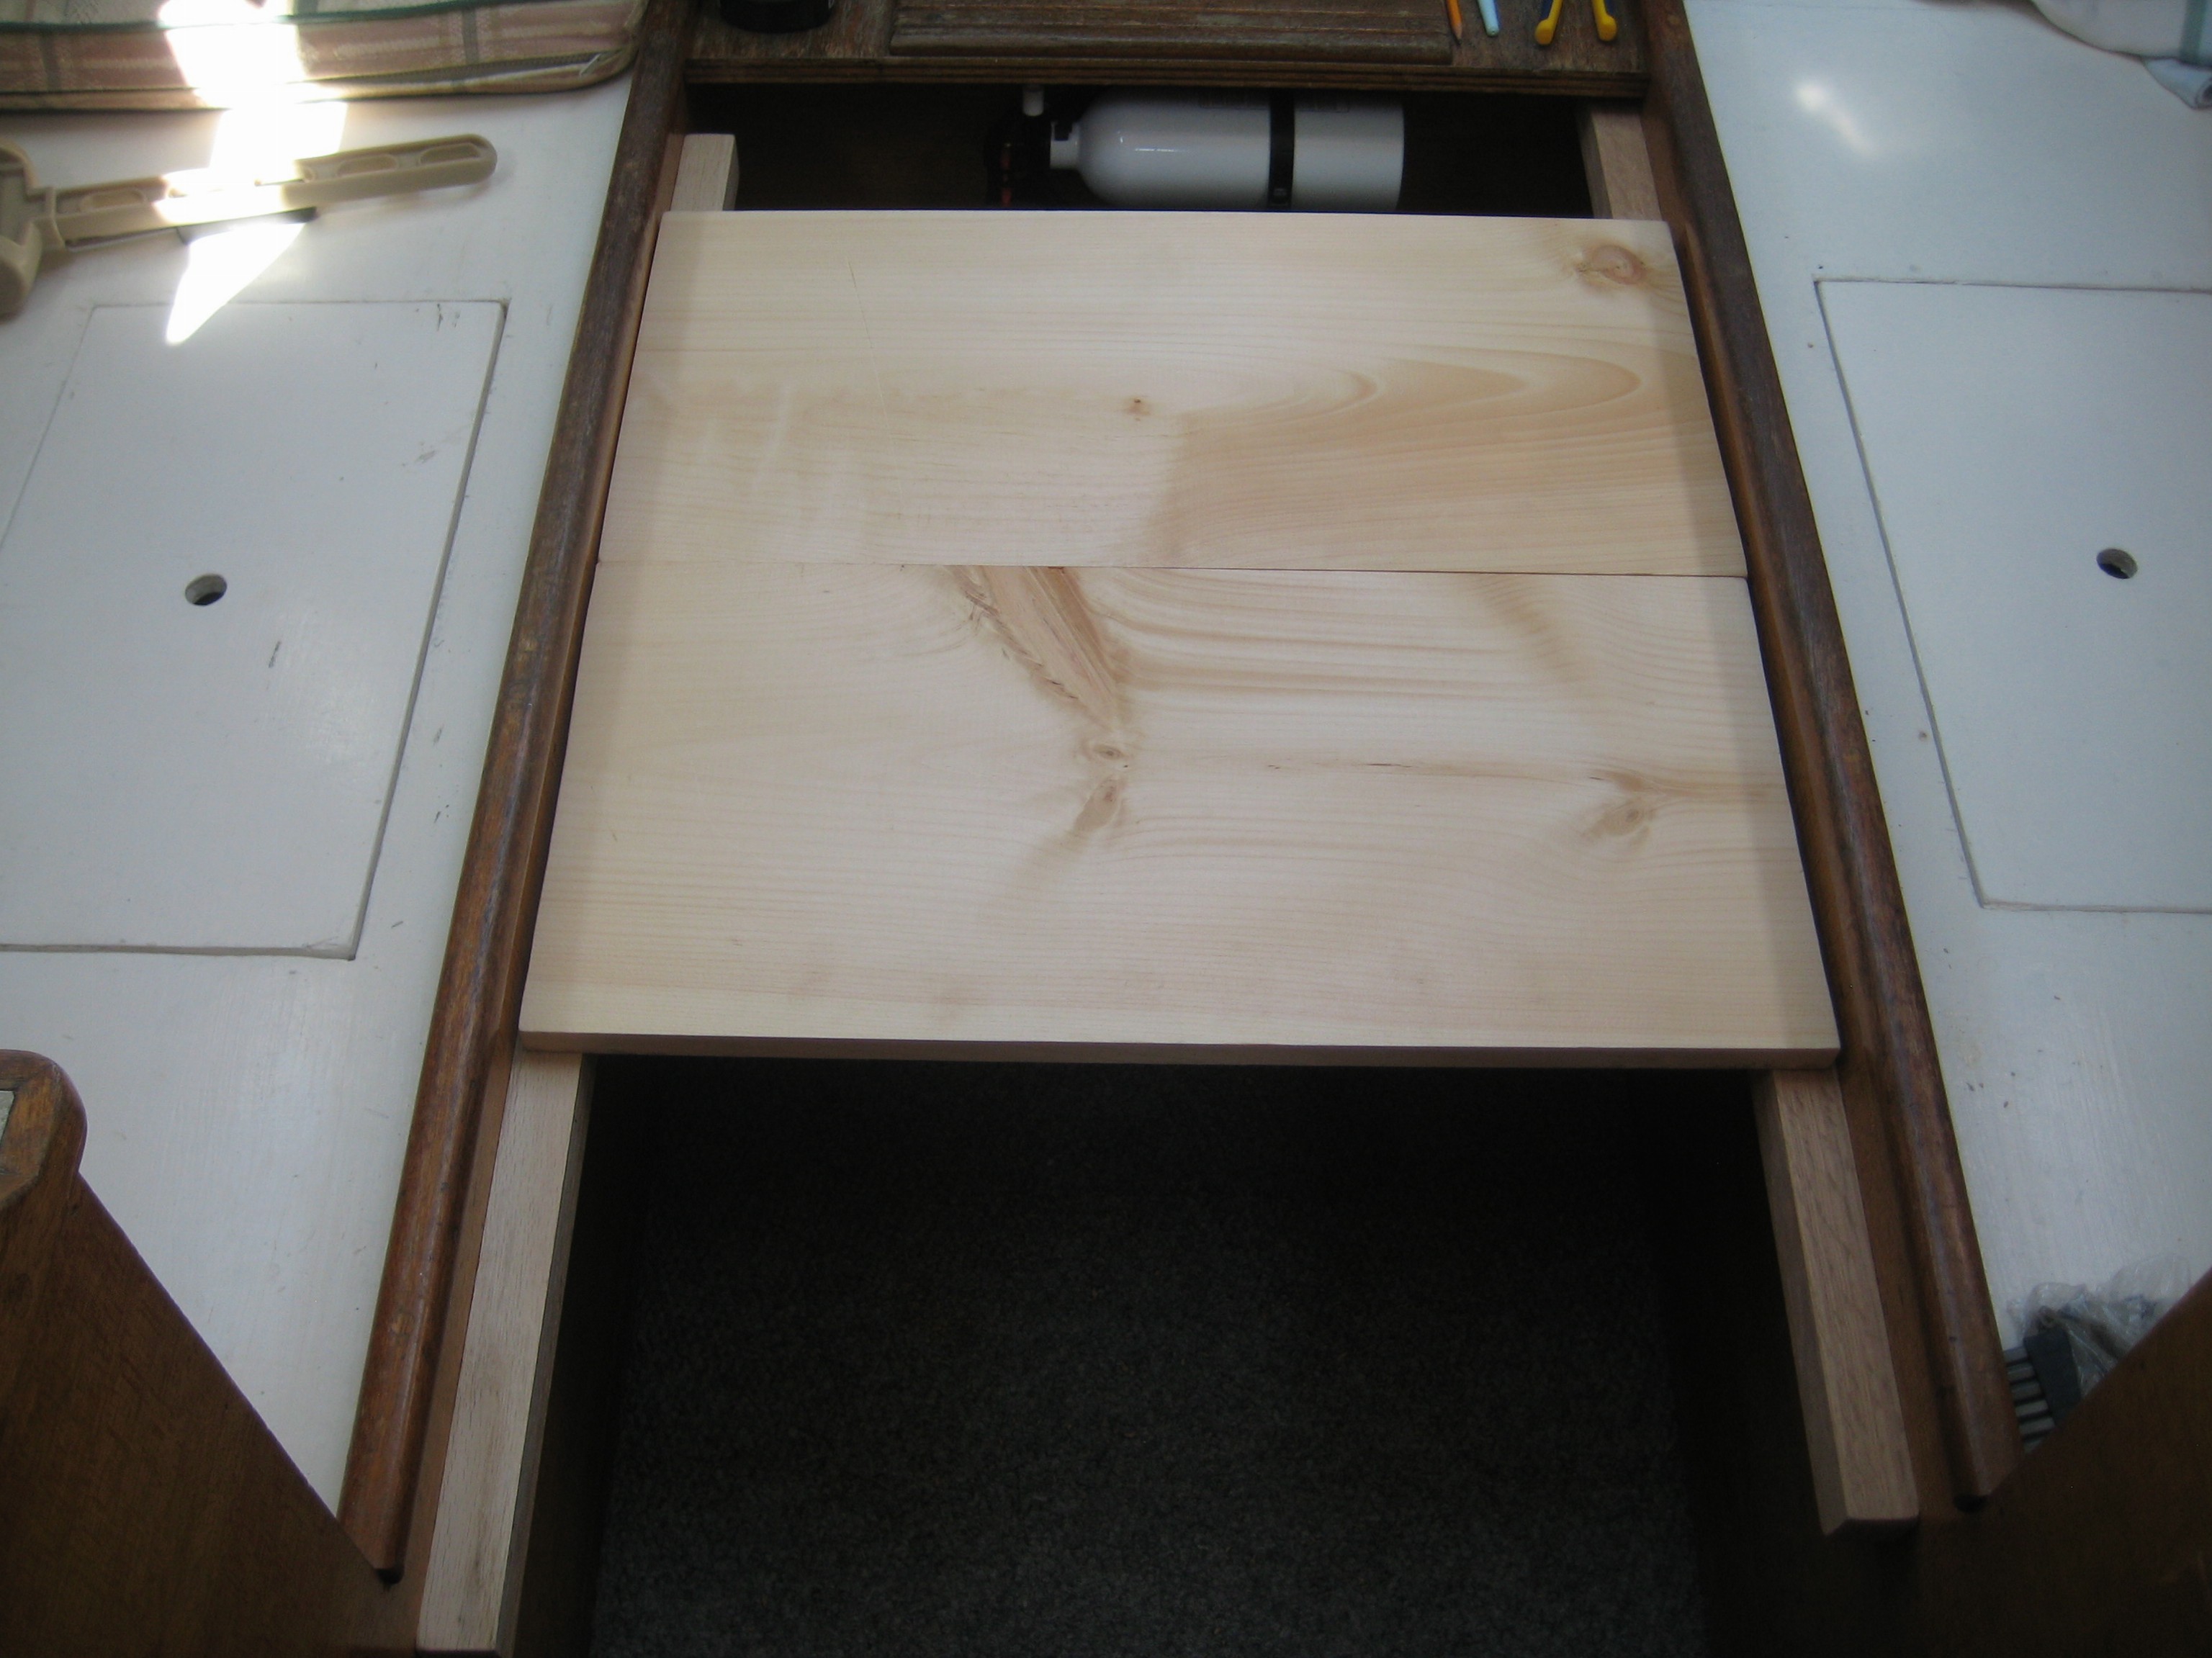
Jeff was greatly anticipating this weekend – the weekend of the mega-bed. I think his excitement matched mine for the Nature’s Head last weekend (which, by the way, is AMAZING!!!). We are members of the Bristol owners board (a Yahoo group), and a while back someone posted about how they had created a bed in the salon that they could break down each morning. Jeff studied it, modified the design for our boat, and promptly dubbed it the mega-bed.
The mega-bed involved drilling two pieces of wood along either side of the “salon” (a word I use tongue-in-cheek given the diminutive size of our boat), then resting three pieces of wood in the middle. Cushions from the boat are placed on the wood, thermarest mattresses go on the cushions, and a memory foam mattress topper is next. All of this should create a level base, and then we can sleep next to each other with our heads on the port side and our feet starboard. Most importantly, Jeff can completely stretch out.
The process went pretty smoothly, although we discovered that one piece of wood was a touch too wide. However, we then realized that our Yeti cooler was the appropriate height and we decided to use that instead. This has the added bonus of not having to move the cooler (which is really heavy) every night. We haven’t tried it out yet, but we’ll find out when we go back to the boat for vacation. Worst-case scenario we’ll just go back to the original sleeping arrangements.
Jeff happily stretched out.
In addition to making the mega-bed (which didn’t take nearly as long as installing the Nature’s Head last weekend), we took care of a few miscellaneous items to get ready for vacation. Hooks were installed in the v-berth along with anti-skid so everything won’t go flying around if we encounter rolly seas like last year, we filled up the water tank, took stock of how much booze and drinking water we needed to bring, etc.
The weekend wasn’t all about construction and preparation, however. On Sunday we went out for a fabulous sail around North Dumpling. North Dumpling is a small island off of Fishers Island that is owned by Dean Kaman, the inventor of the Segway. According to Wikipedia, after Kaman was initially denied permission to build a wind turbine on the island, he joked that he was seceding from the United States, and later signed a non-aggression pact with his friend, then-President George H. W. Bush. Kamen refers to the island as the “Kingdom of North Dumpling”, and has established a constitution, flag, currency, national anthem, and a navy consisting of a single amphibious vehicle. The people of North Dumpling are called “Dumplonians”, and Kamen is said to refer to himself as “Lord Dumpling” or “Lord Dumpling II”. This is obviously all tongue-in-cheek of course, but I think it adds to its charm. In addition to North Dumpling Lighthouse, the island features a replica of Stonehenge.
North Dumpling has become one of our favorite “quick” sails. It’s funny because last year we were hesitant about sailing around it because the passage between North and South Dumpling seemed so narrow. When we finally did it towards the end of the season, we felt like we had accomplished something. This year it’s obvious that the passage isn’t that narrow, and we’ve sailed around it at least three times, including once with friends. It’s nice to look back and see how our confidence continues to improve.
Anyway, the “around North Dumpling” sail is approximately 7 miles round trip. If the wind is from the southwest (which is the prevailing wind direction for the region) it’s an easy beam reach out and back, and I never get tired of looking at the lighthouse. On Sunday the winds were perfect – southwest at approximately 10 mph – so we had a great beam reach out, an easy jibe around the island, and an awesome beam reach back. Another special sail where it was “set it and forget it.”
We don’t usually see freighters out where we are, so this was kind of cool.Seaflower Reef on the way to North Dumpling.North Dumpling
All in all it was a fabulous weekend, and a great prelude to our VACATION (yay!) which begins on Saturday the 6th.
A boat is a series of compromises – so the saying goes. In our case, the biggest compromise for me, by far, has been the head situation. Before we bought this boat we already knew that we wanted to have a composting toilet. From all of our research, it seemed that with a traditional marine head there would inevitably be problems. Permeated hoses, overfilled holding tanks, leaks, odors – ack! There was no way we wanted to deal with any of that.
Pegu Club came with a traditional marine head and while the setup was ingenious for a 24 foot boat, it was really intended more for day sailing. It wasn’t going to work for the way we were going to use her, so it had to go. Unfortunately, there wasn’t enough room in the v-berth if we wanted to sleep in it and have a composting head, so we settled for a portapotty. The portapotty was o.k. for the first season, but during our second season I became increasingly disenchanted with it.
One Sunday morning on the boat we were sitting down below waiting out a rainstorm when we observed that we hadn’t used the v-berth for sleeping at all this season. Jeff fits better on the side berth as long as he opens up the hatch so his feet can go through, so the v-berth had become a defacto storage area. (Side note: he is working on a “megabed” design which, if it works, will be the subject of next week’s post.) Why not revisit the composting toilet idea? We called up the size specifications for the two main players in the field – Nature’s Head and Airhead – and took some measurements of the existing box where the portapotty was currently installed. It was going to be a tight fit, but it looked doable. We decided to make it an offseason project.
Last week I was thinking about our upcoming two-week trip and how I REALLY didn’t want to deal with the portapotty for that amount of time. That’s how the UPS man ended up delivering a Nature’s Head composting toilet to our door on Friday. I was as excited as a kid on Christmas morning.
The composting toilet works by having two separate bins – one for solids and one 2.2 gallon bin for liquids – with a pair of holes in the front directing liquids into the removable liquids bin and a trap door for solids. The solids bin has an agitator. Fill the bin up to the agitator with peat moss or coir and that’s it. Give the handle a few turns after you use it, and you’re done. There’s also a vent with a small computer-style fan that draws air out through a hose that is vented to the outside. Two people living aboard can use it for a month before emptying the solids bin. To do so you simply put a trash bag over the bin, empty it, and discard it. Some people will put it in a separate container to turn it into compost (hence, the composting toilet), but we definitely won’t be doing that. We’ve read literally hundreds of accounts on various websites, and with the exception of a couple of people, everyone loves it. No parts to break, no repairs, no added expense (beyond peat moss, which is nominal). There is absolutely no odor. For us it was a no-brainer.
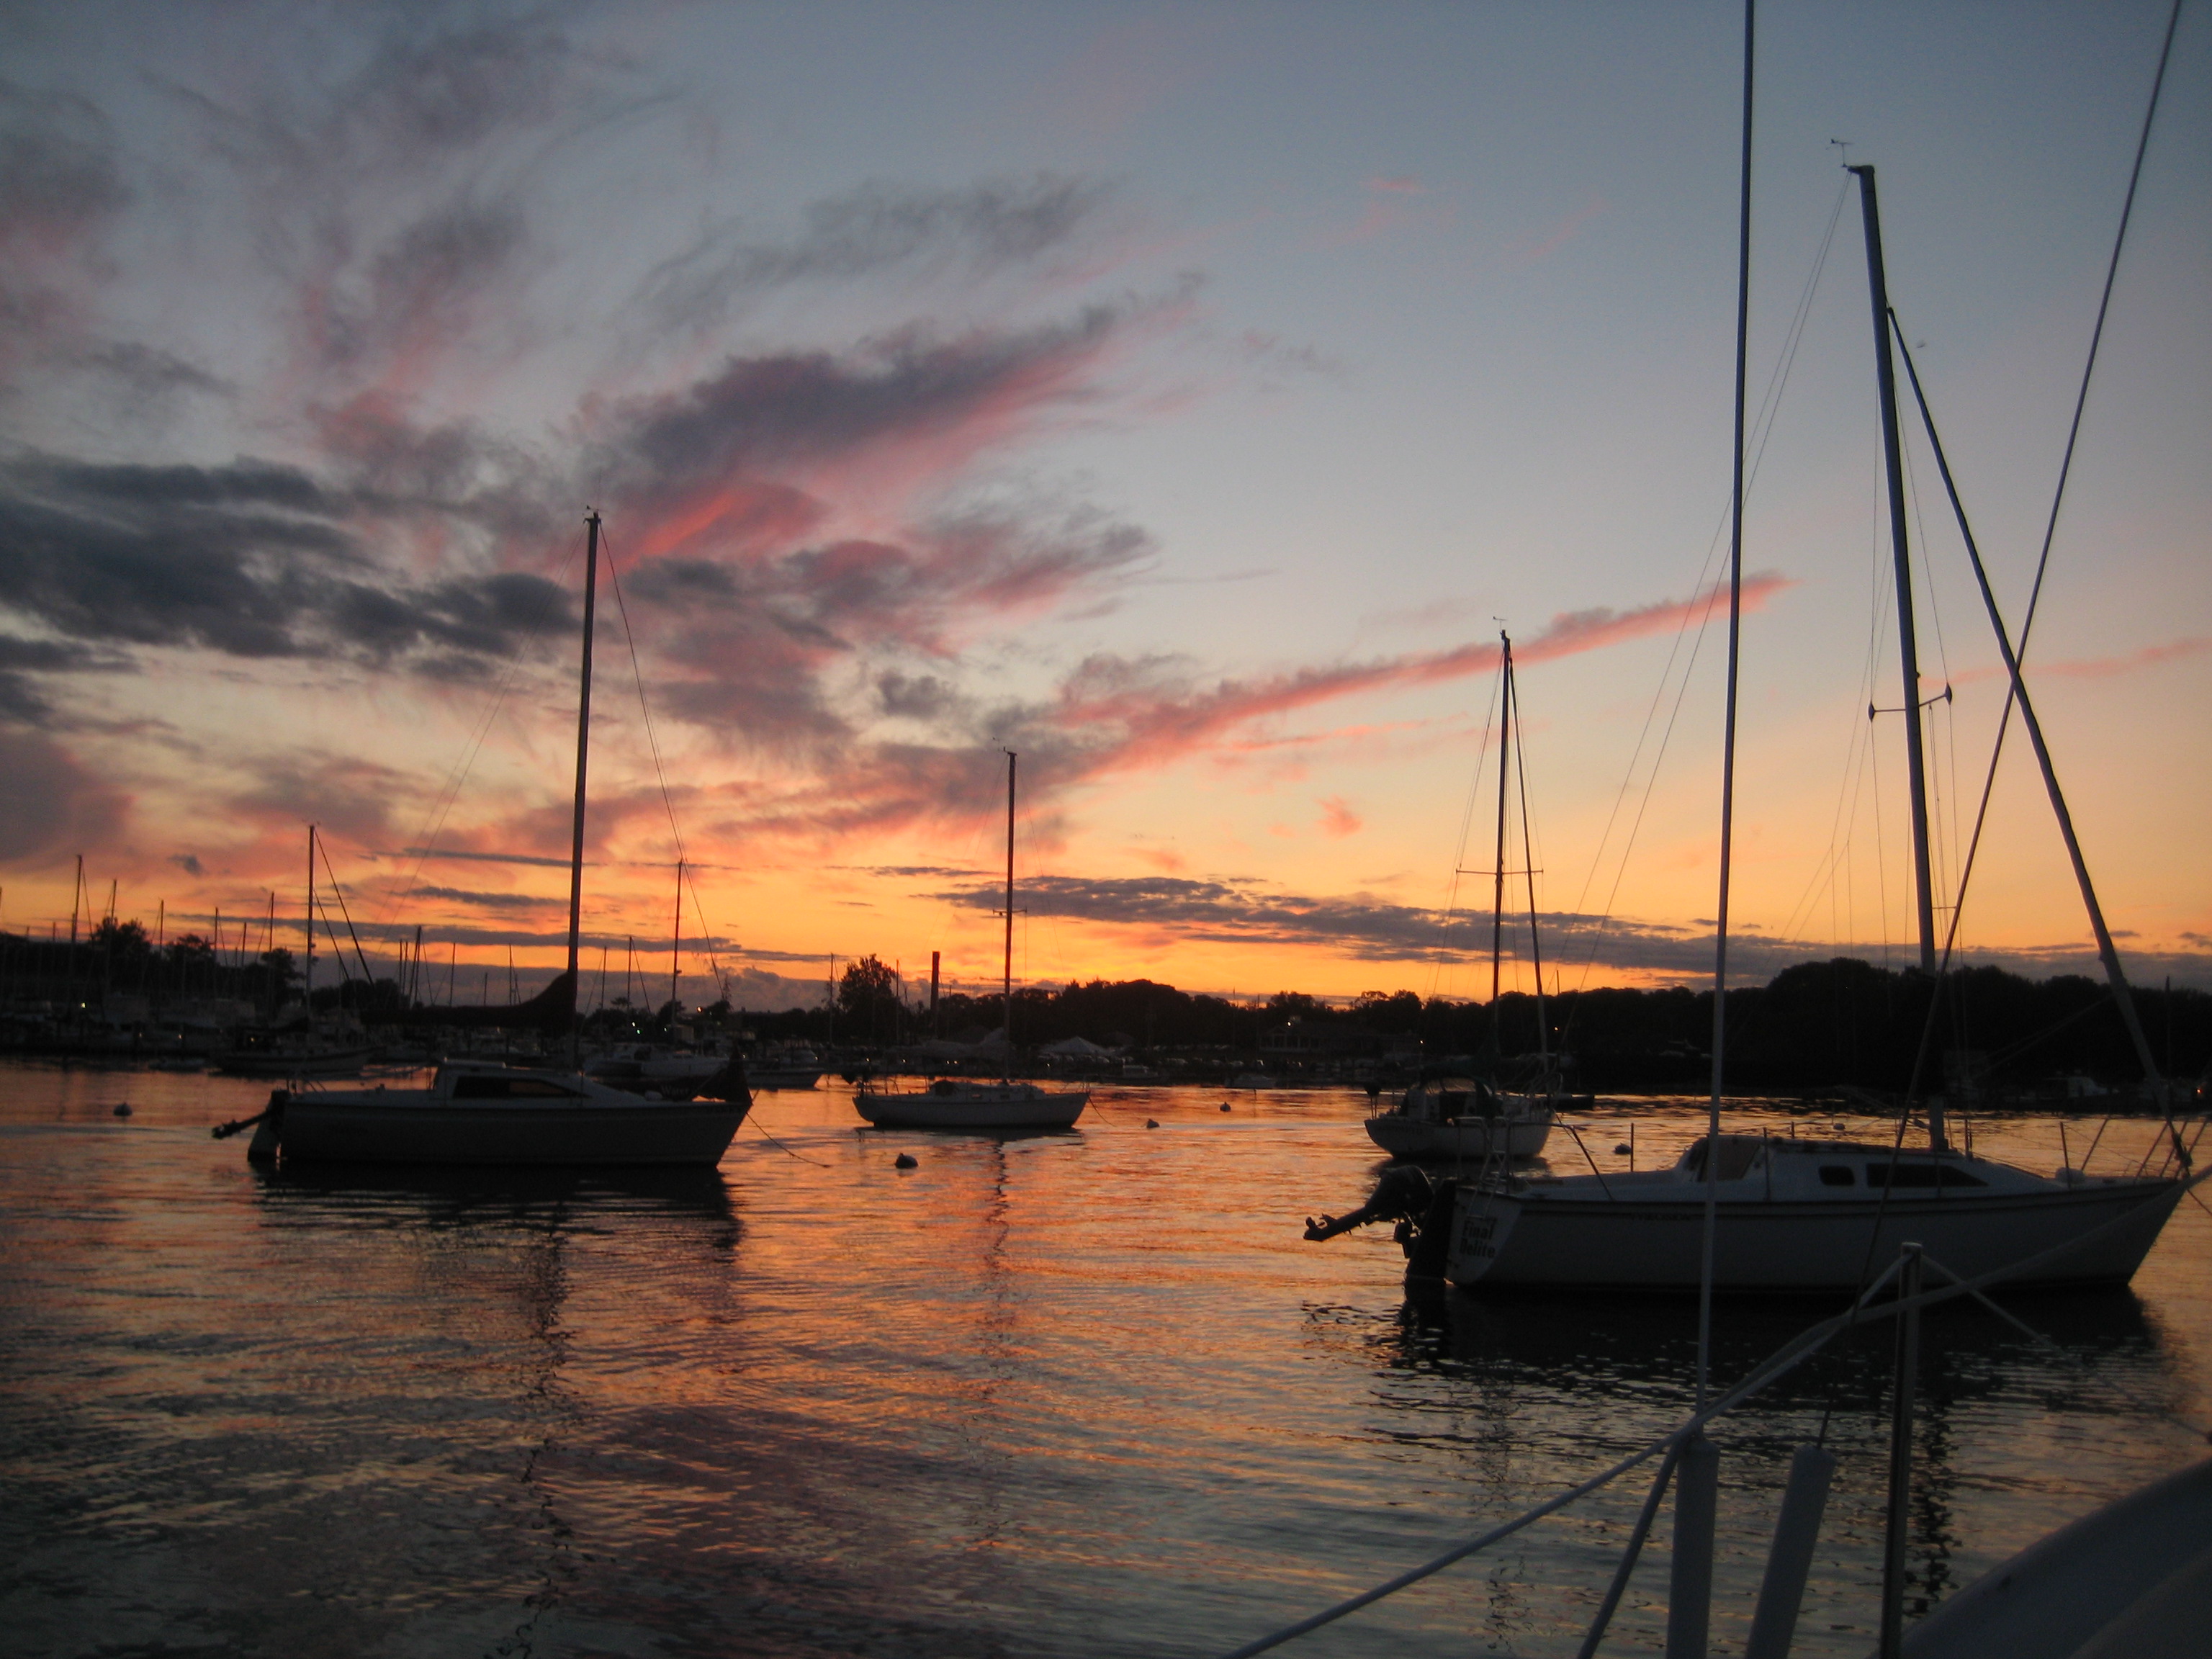
So Saturday evening we found ourselves at the boat, ready to install our Nature’s Head on Sunday and to MacGyver whatever was necessary to make it work. After a beautiful sunset and a yummy dinner of cappellini with shrimp and olive oil, and fresh green beans, it was off to bed for a busy Sunday.
Sunset at Pine Island Marina.
We got lucky in that Sunday was sunny with very little wind. The perfect day for a boat project. Overall the installation was very easy. We had to build a base out of 2×4’s cut to size because the latches weren’t quite clearing the box in the v-berth. We got lucky, however, because even with the added height we had just enough clearance for Jeff’s head. We didn’t have to spend any time thinking about how we would run the ventilation hose, because we simply followed the route that the prior owner had taken with the hoses for the marine head. Of course just because the installation was easy doesn’t mean that we weren’t squeezing ourselves into small spaces or lying on the floor peering underneath areas while holding flashlights in our mouths.
It’s a little easier for me to squeeze in here than Jeff, although he can also do it.
Our only hiccup came with installing the wiring for the fan. We had already decided to remove the am/fm cassette radio and accompanying speakers, so we traced the wires and got rid of those. I’ve discovered I have a knack for tracing wires, although there was one horrifying moment where we thought we may have cut the wires for the running lights. We had planned to run the fan to the spot on the electrical panel where the radio was, but we didn’t have a long enough wire. So then we decided to wire it to the port LED light in the v-berth, but the fan wouldn’t work without the light turned on. We tried to run it above the light switch, but we still had the same problem. Ultimately we decided to remove the LED lightbulb and simply leave the fan wired in. We will likely buy longer wire and run it to the panel, but this works for now.
Voila – the Nature’s Head was installed. This picture was before we hooked up the hose. The hose is connected to the port on the left. We drilled a small hole into the panel so we could thread the hose through it and underneath the “floor” of the box that the Nature’s Head is in, down through the bilge, into the area that I was working in above, and attached to the old pump-out which now has a mushroom vent on it instead.
Nature’s Head
It was well after 7:00 p.m. by the time we were finished and it was time to pack up and head home, so although it’s prepped and ready to go we haven’t actually tried it out yet. That will be next weekend. But I have no doubt that this is going to be one of the best boat-related purchases that we’ve made so far.
As for the portapotty? It’s going to stay in the basement until we buy the big boat. Then we’ll take the Nature’s Head out, install it in the big boat, and reinstall the portapotty for when we put the Bristol 24 up for sale.