

Saturday, October 31st found us at Shenny helping with the club’s fall clean-up. Our plan was to come back the next day to keep working on the boat. Unfortunately, I made the foolish mistake of thinking that I could hang with the guys and decided to help with dismantling “E” dock. After toting many carts filled with heavy copper wire and bending over countless times to drill out hundreds of screws, Sunday, November 1st found me laid up with a sore left hamstring. If I had been a horse, I would have been taken out and shot. Needless to say, we did not go down to the boat that day, but by Saturday, November 7th we were back and ready to get to work.
Jeff and I had decided that the next big project was going to be removing the bottom paint so we could put on a barrier coat. When Pegu Club was surveyed, our surveyor pointed out that she had areas of blue bottom paint that were flaking off. He also noted that she didn’t have a barrier coat, but despite this she didn’t have any evidence of blisters.
Since gelcoat isn’t 100% impermeable to water, fiberglass hulls can develop blisters, particularly if they spend a lot of time in warm water. Typically blisters are a cosmetic issue, but they can be more serious, and they are tedious (and sometimes expensive) to fix.
Bristols don’t have a reputation for blistering, and the fact that Pegu Club has been in cool northeast waters for six months/year her entire life has undoubtedly helped. However, we had read several accounts of people who did not have a barrier coat and took their blister-free boat down to warmer waters to go cruising. Upon hauling out, they were faced with the most-unwelcome discovery that they now had blisters. We figured given that at some point we were going to need to remove the bottom paint anyway (due to its failing in spots), we might as well put on a barrier coat while we were at it. The idea of hauling out sometime in the future in a place like Panama – with 90 degree temperatures and matching humidity – only to discover a bevy of blisters was not our idea of a good time. Better safe than sorry. So we decided to suck it up and tackle the job now.
There are a few ways to remove bottom paint, including paying someone to sandblast or sodablast it off (which is expensive and was not going to happen). Our options were to sand it off or scrape it off. If we scraped it off, we were still going to need to sand the residual paint off, but arguably it wouldn’t be as bad as sanding all of the coats off. So we decided to scrape.
Armed with our respirator masks and gloves, and our Amazon order of the week (two heavy-duty carbide scrapers), we were ready to get to work on Saturday. Three hours of manual labor later, we had managed to get approximately 20% of the boat finished:


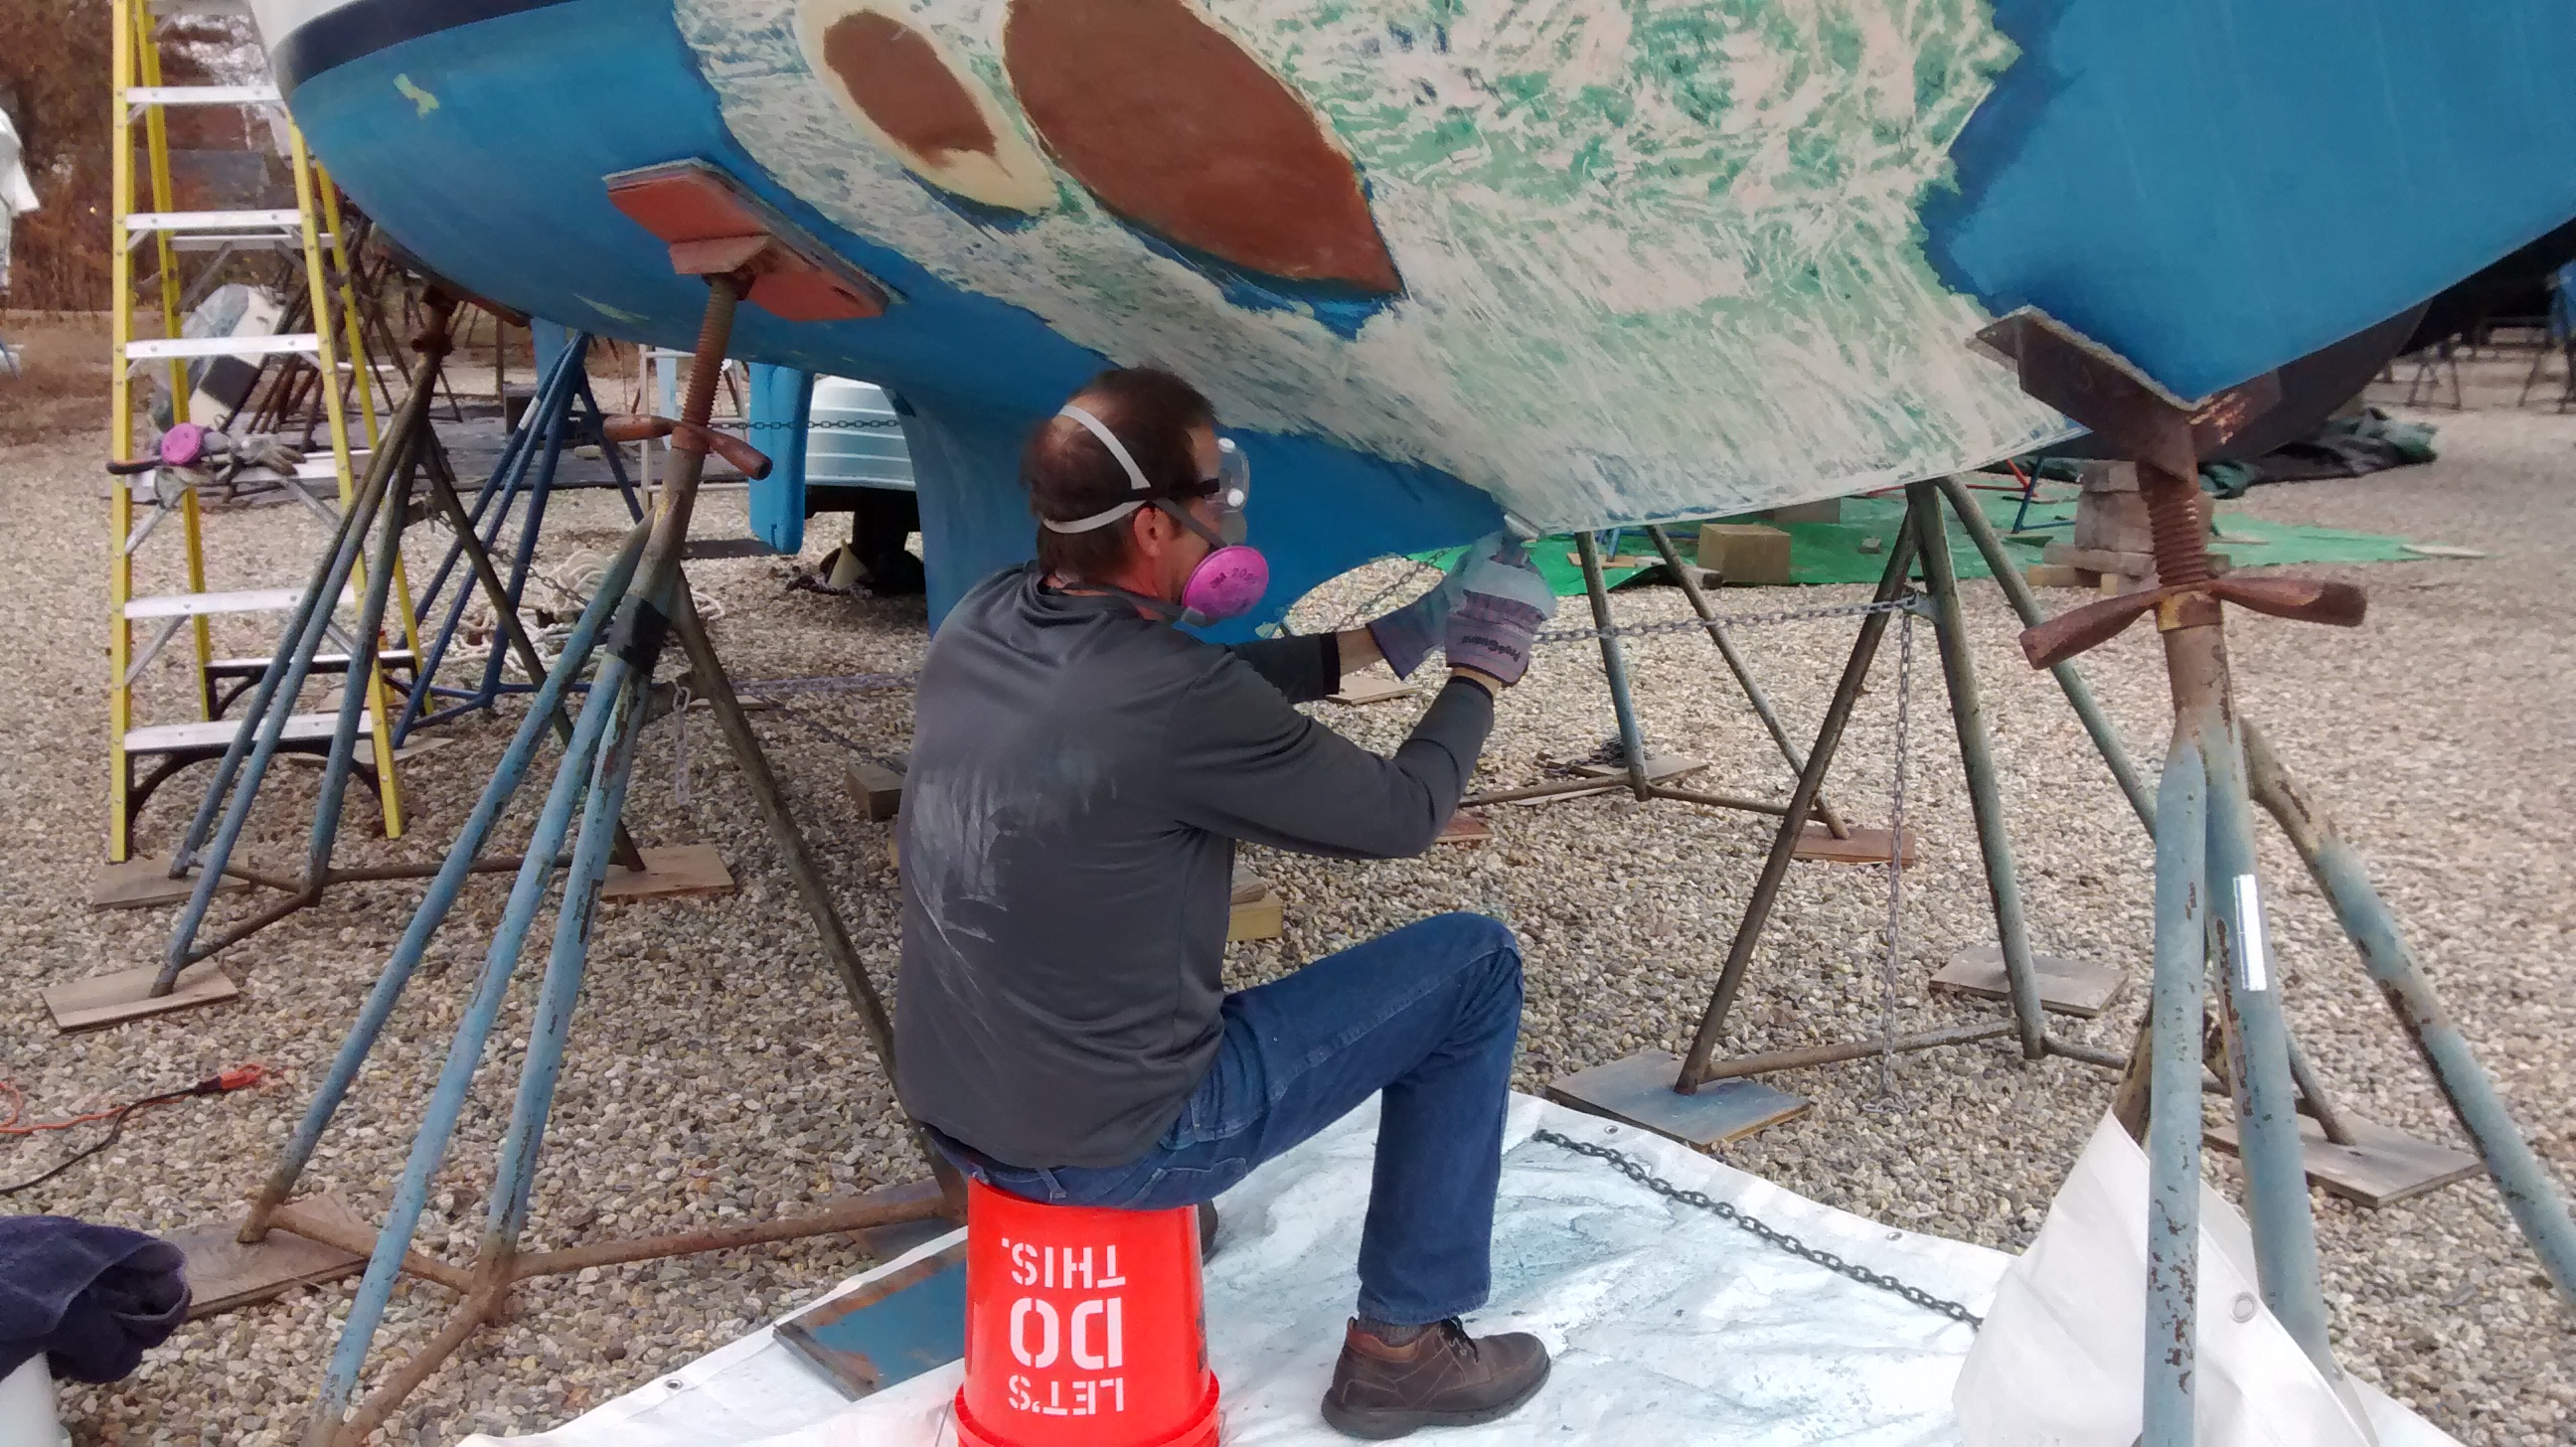
After three hours I declared that we were done for the day, and I wasn’t doing it again until next weekend. While I’m sure Jeff did not find this work to be quite as taxing as I did, he also didn’t object. I figure 20% each weekend and we’ll be finished scraping by early December. We can’t put the barrier coat on until the spring anyway, so why rush?
Sunday we went back to the yard to admire our work and get some miscellaneous items taken care of. We were extremely pleased to discover last week that we appear to have stopped the leaks. It looks like our rebedding and tightening all of the screws in the ports did the trick! Despite this, we still needed to continue tightening up the bolts on all of the items we’ve rebedded (butyl tape requires incremental tightening). So I made another trip into the Pit of Despair – aka the rear lazarette.
We also removed the last vestiges of the 110v wiring, brainstormed how we were going to install our Origo stove, and made our winter door. I was psyched about the winter door because that meant I could bring home the companionway hatchboards to start varnishing – the subject of a future post!
We drove home feeling rather satisfied with another productive weekend, and looking forward to the next one.

Well, what a huge job. You both keep plugging away. By sailing time all three of you will be healthy, strong and beautiful. I love to hear your stories. Love, N
LikeLike
Thanks, Nikki. We’re just keeping our heads down and plugging away. Love, Kimberly
LikeLike
What did you do for a “winter door”?
LikeLike
We measured the width, depth, and length of the companionway opening and bought a piece of plywood at Home Depot. Then we laid the existing hatch boards on the plywood, traced the area, cut it out with a circular saw, and cut a notch for the tang that the padlock goes on. It’s worked out great.
LikeLike