

The house goes on the market one week from today (hooray!) and then we can turn our full attention back to the boat. In the meantime, last Saturday we did get the chance to have some fun when we drove down to Sound Rigging Services (SRS) in Essex to check out the mast repair and our new standing rigging.
You may recall from the previous post on our dented mast that Chuck Poindexter from SRS had also found a crack in our existing standing rigging, so fixing the mast and getting new standing rigging became priority number one for this off-season. We had decided to go with Hi-Mod swageless terminals so that we could easily replace it ourselves in the future, and Chuck had offered to have us down to his shop so we could practice assembling a Hi-Mod terminal.
Jeff had never met Chuck, but I knew he would like him and I was right. A sailor since he was a child, Chuck has forgotten more than we’ll ever know about all things rigging related. Extremely knowledgable yet modest and friendly, we had a great time simply hanging out and exchanging stories. It’s clear that when you go to SRS, you’re not merely a customer – you develop a relationship. I can’t recommend Chuck and SRS highly enough.
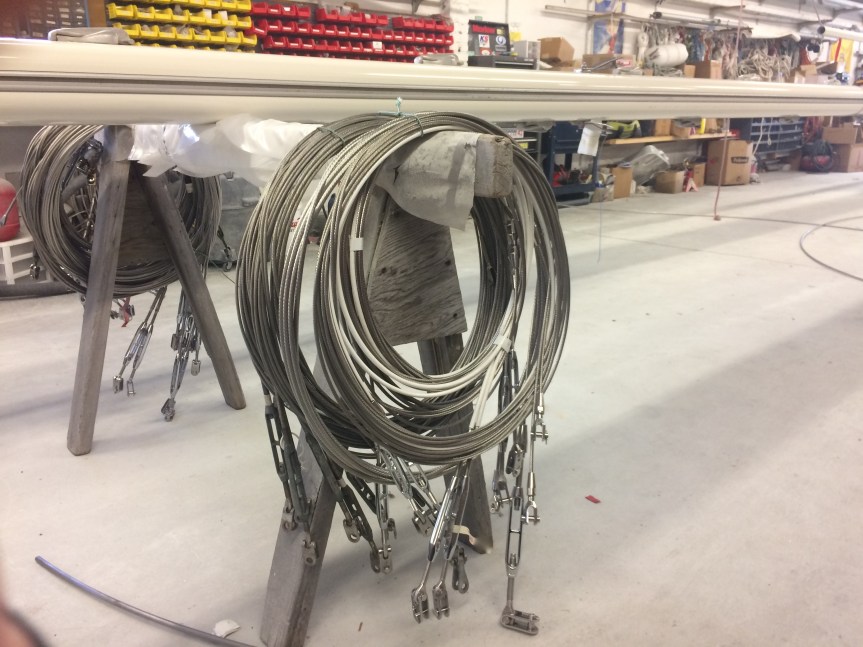

After showing us our new rigging, Chuck took us over to the work bench where he had set everything up in a way similar to what we would have available when we’re out cruising. After showing us the assembly process he took it apart, stepped back, and watched Jeff put it together while offering helpful suggestions. While all of the swageless systems go together in a similar fashion, the Hi-Mods use a crown ring that makes positioning the wire strands foolproof. It was one of the reasons why we chose Hi-Mod over a different brand. After Jeff was finished we took it apart again and then it was my turn. Voila! We know how to assemble a terminal.
I was busy learning so I didn’t take any pictures, but I pulled these off of the Hayn Marine website (the link takes you to a video and detailed instructions):


We had watched YouTube videos on the process and it looked pretty simple, but it was great to get some hands-on experience. Sure, we could have done this entire project ourselves, but we had too much going on this winter and we decided to leave it to the pros this time. The unsolicited offer by Chuck to give us a demonstration was an added bonus. He’ll also give us an list of all of the parts and measurements that we can keep it in our file for future replacement.

After we had finished assembling the practice terminal, we went out back to check out the mast repair and the change to the gooseneck, both of which looked great! It was so cold though that I didn’t even think of taking pictures, so that will have to wait for a future post.
Ultimately we felt like we could have spent the day hanging out at SRS, and Chuck mentioned that people do drop by all of the time to simply have a cup of coffee and hang out. I could definitely see why. Unfortunately, more house projects awaited us so we reluctantly left. I have no doubt, however, that we’ll be using Chuck and SRS again in the future when we order our sails, and for a final rigging inspection before we cut the dock lines for good!

Chuck sounds great, I love when you find the perfect contractor for the job. Did you consider adding a solent stay for a staysail/storm jib?
LikeLiked by 1 person
Hi James – he really is. We thought about a solent stay but decided against it and switched to the hank on instead.
LikeLike
Hi Kimberly,
Carching up on some of your older blogs. Thanks for sharing this info.
I’m guessing you decided to stay with the same guage thickness?
Also, since we have the same boat, It would be great to find out the cost of this job. Thanks!
LikeLiked by 1 person
Hi there – I’m glad to know that somebody is finding it to be useful! 🙂 According to my notes the backstay and the uppers are 7/32″, the lowers are 3/16″, and the headstay is 1/4″. The cost for our rigger to do it was $2,800, but that included new turnbuckles and hi-mods for everything. We could have saved some money by going with partially swaged or all swaged, and of course if we had done it ourselves that also would have been cheaper. Don’t forget to account for the fact that it’s high-cost Connecticut. I imagine it would be less expensive down in Florida. Don’t hesitate to ask if you have any other questions. Kimberly
LikeLike
Hi Kimberly,
Great info in your blog. I know this post is a few years old, but hoping you can still answer. I’m wondering if you know the original gauge rigging that came with the 29.9. Do you recall if you used the same as original or if you moved up a size when you replaced everything?
Thanks for keeping this blog online!
LikeLike
Hi Craig – Thanks for the comment. It’s nice to know that the posts are occasionally helpful! I don’t know what the original gauge was when our boat came out of the factory, but it’s certainly possible that our rigging was original. We ended up replacing it earlier than planned due to a crack in the swage. I just double-checked the invoice and it looks like when we replaced everything the rigger kept it the same size. Don’t hesitate to reach out if you have any other questions. Kimberly
LikeLike